From arrival to ready for the road. This is the running record of what we find, what we do and how the first RMC recommission progresses.
Recommissioning Underway
Stage 01 · At RMC
Initial Assessment
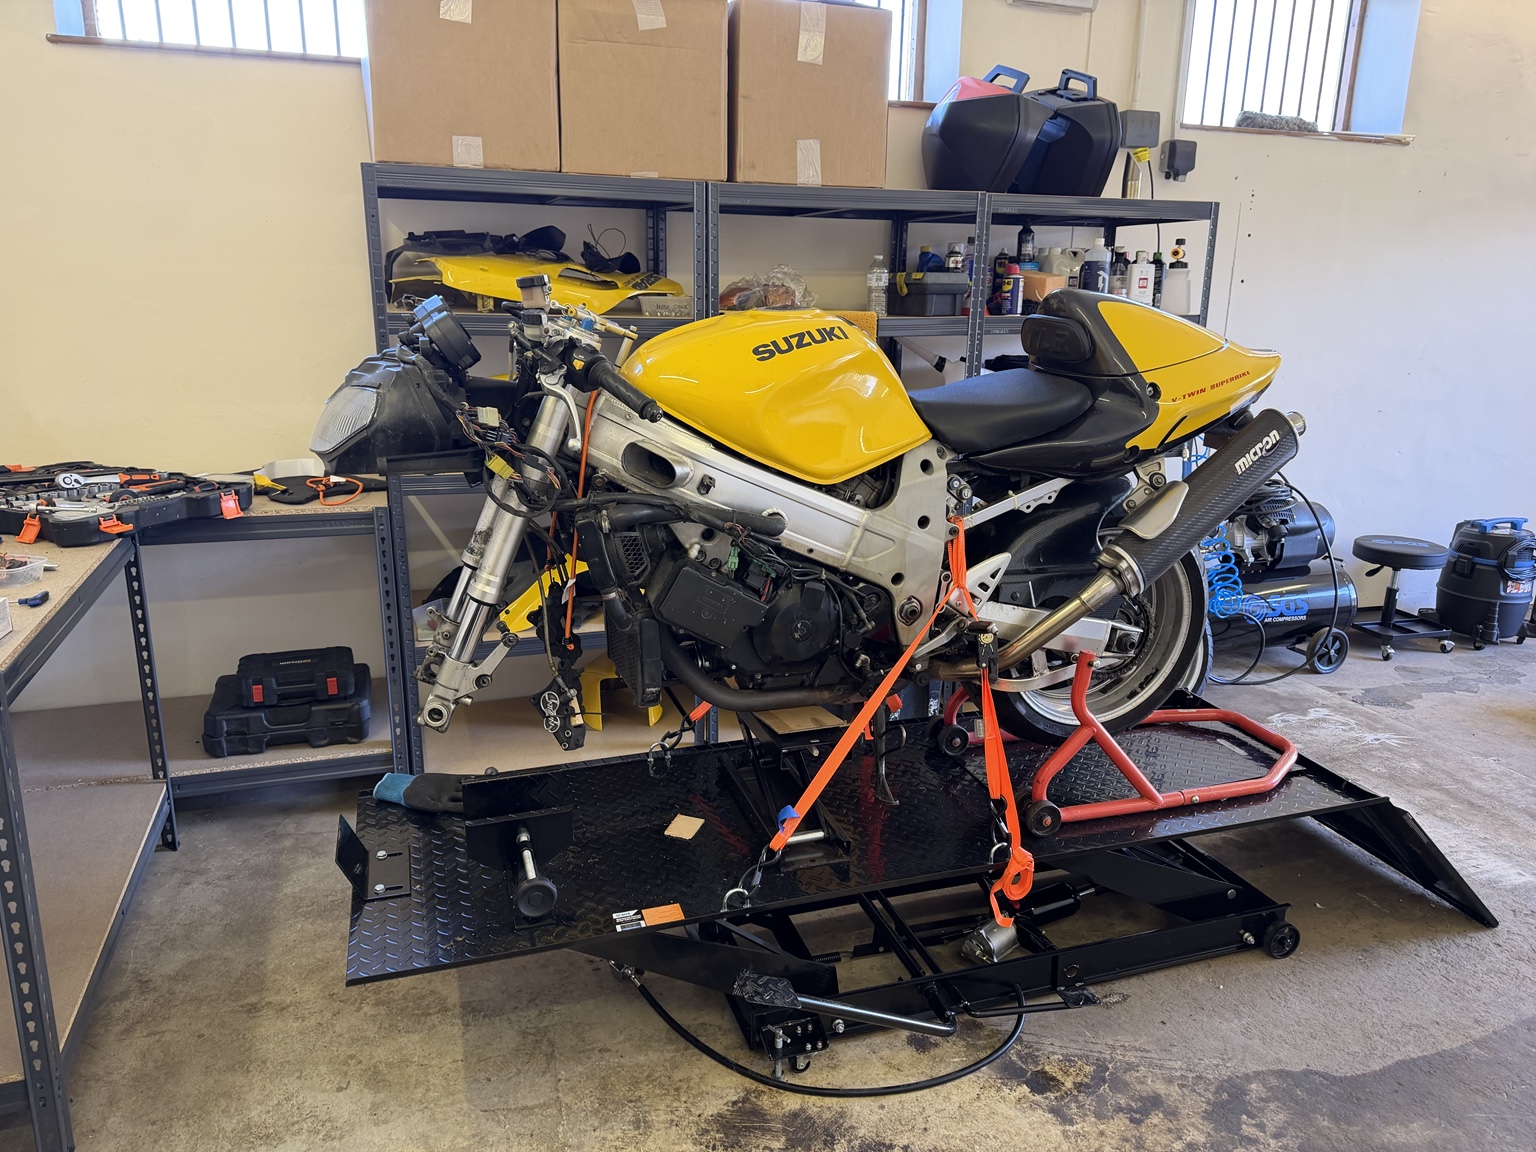
The yellow TL1000R is the first motorcycle through the RMC workshop. The aim is to understand the whole bike properly rather than simply fix the obvious items.
The bike arrived as a running, complete motorcycle. Inspection, cleaning and methodical strip-down let us see what years of use have left behind.
Stage 02 · Strip-Down
Getting Under The Bodywork
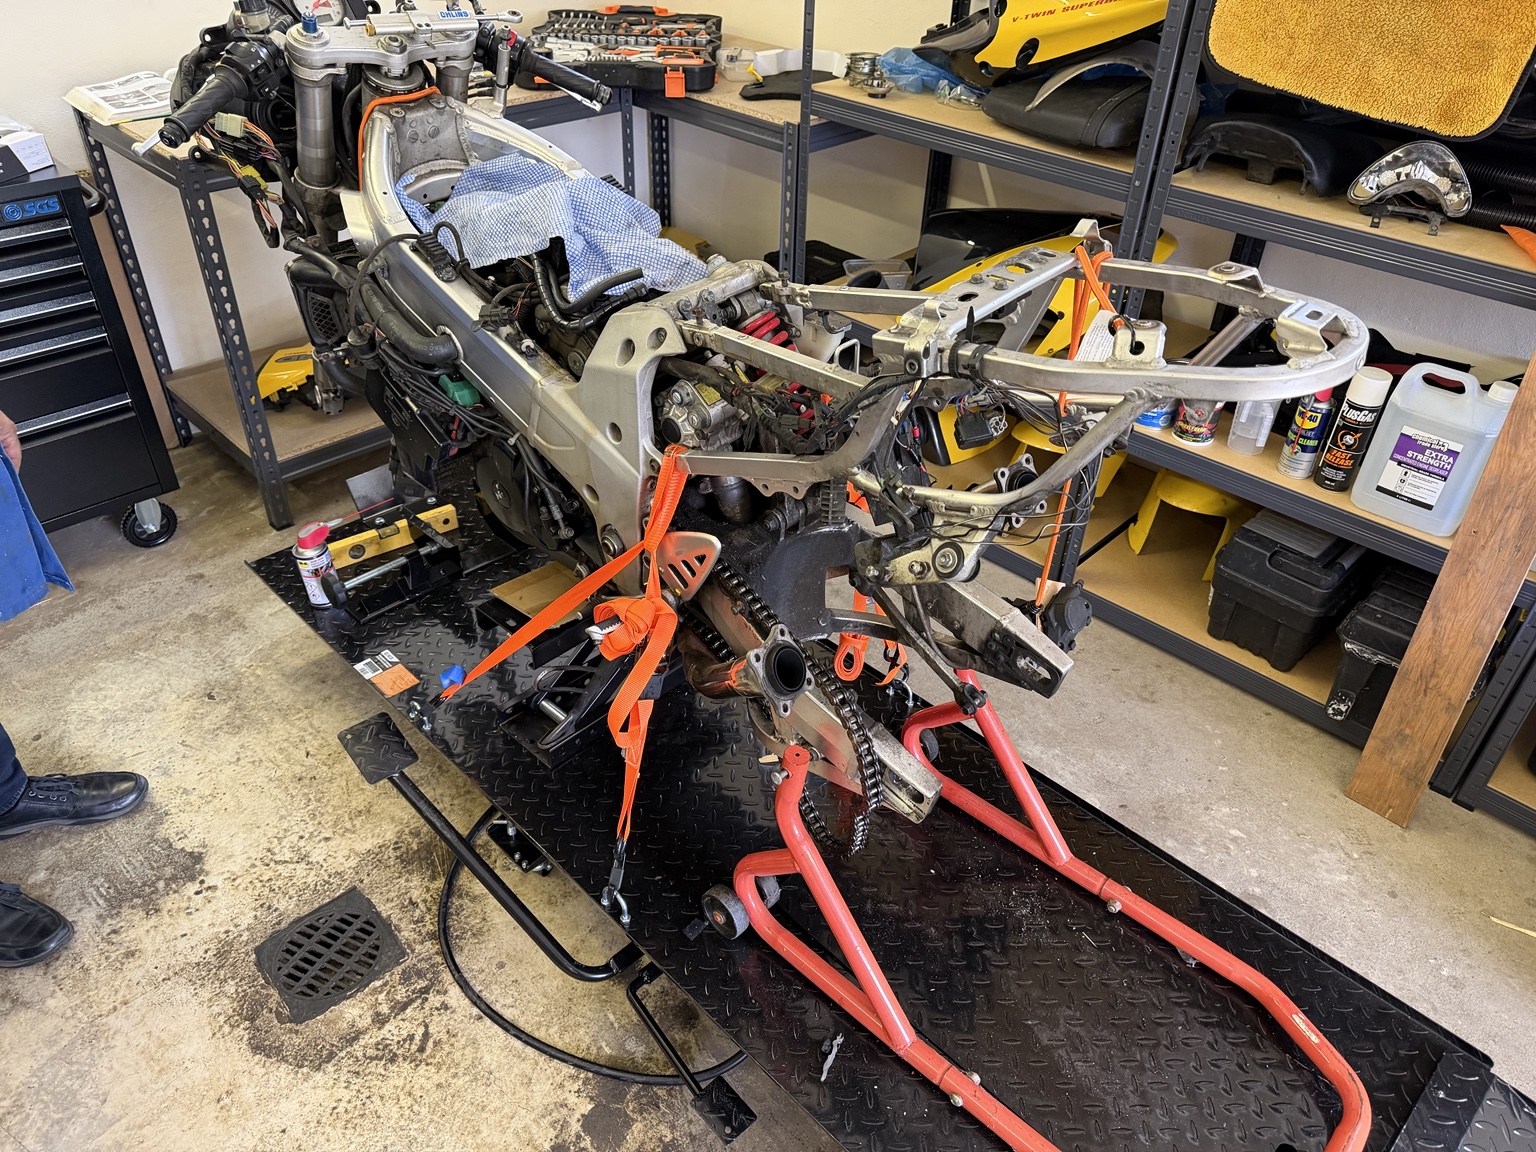
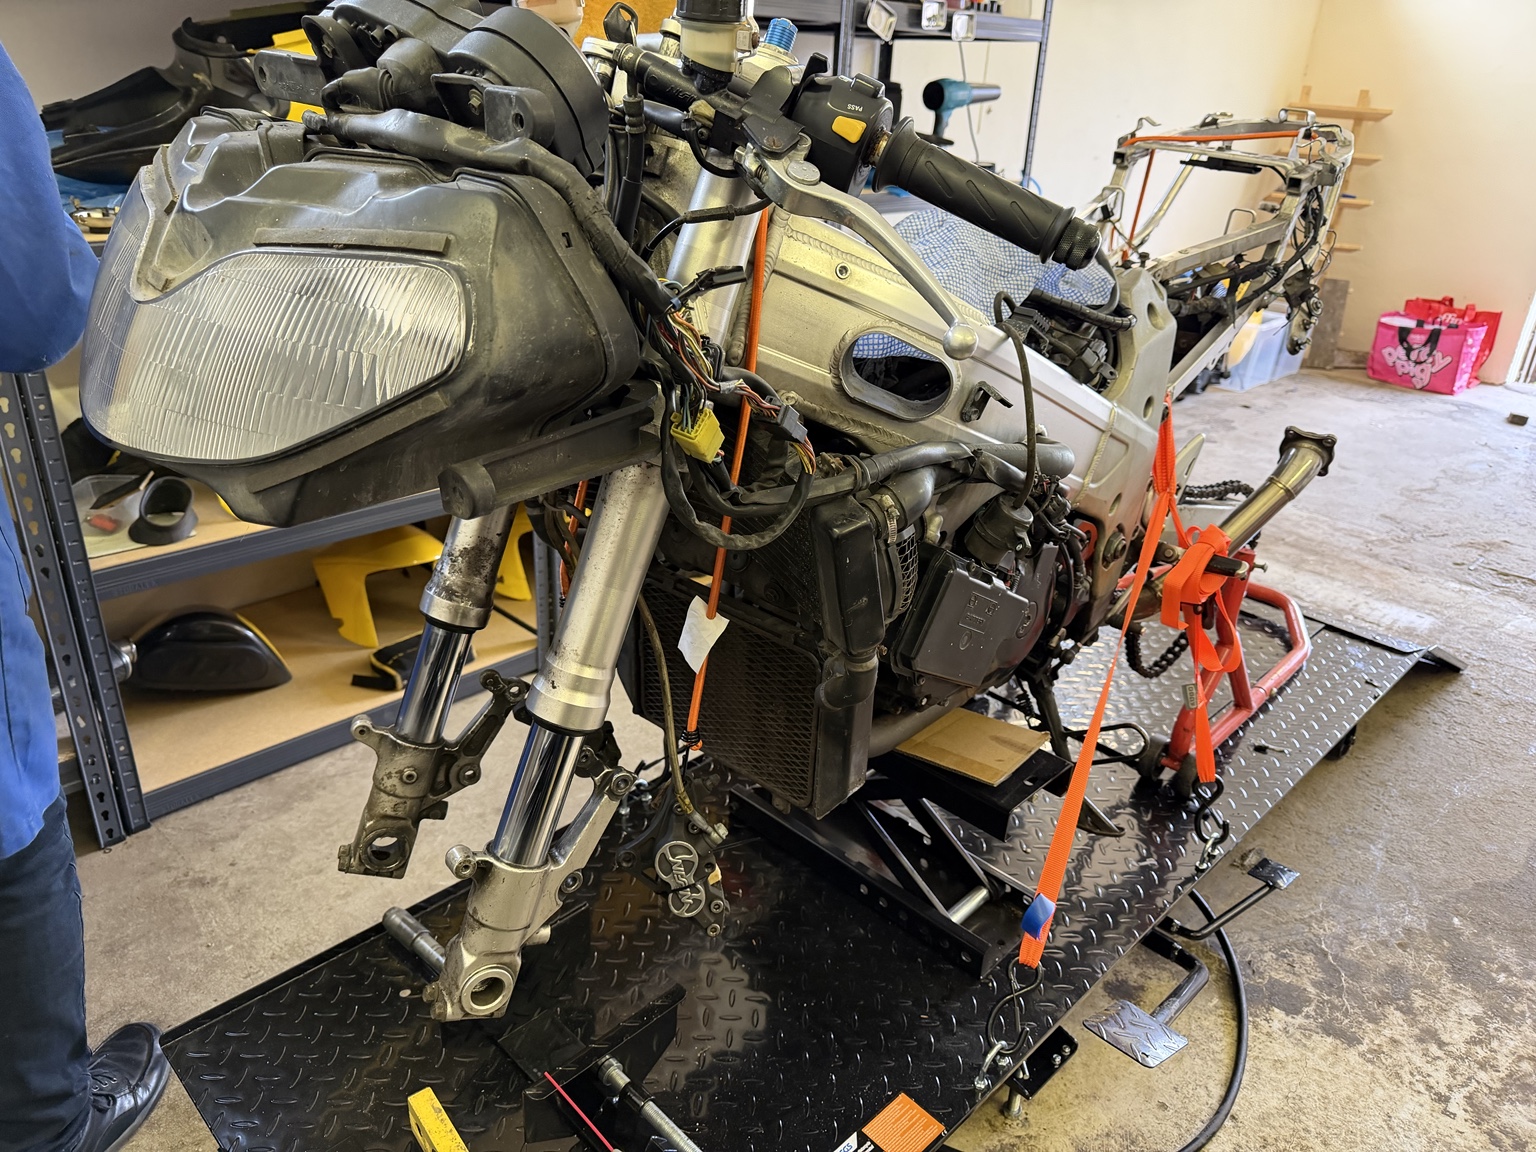
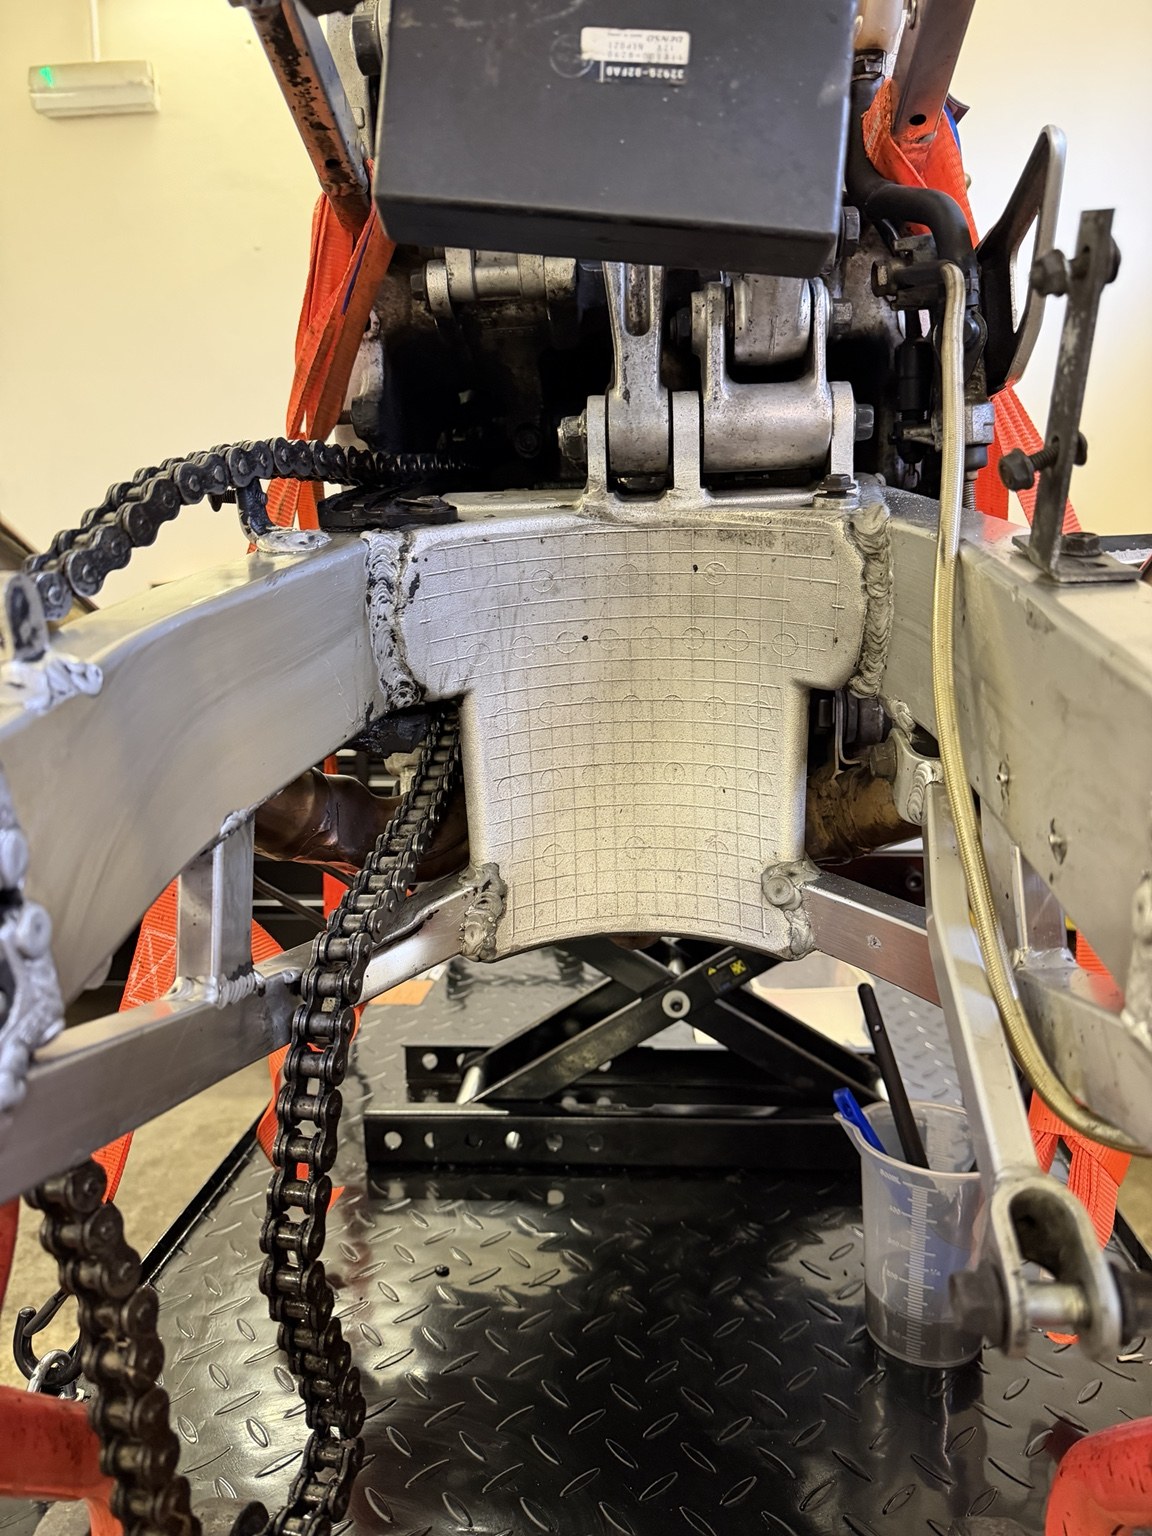
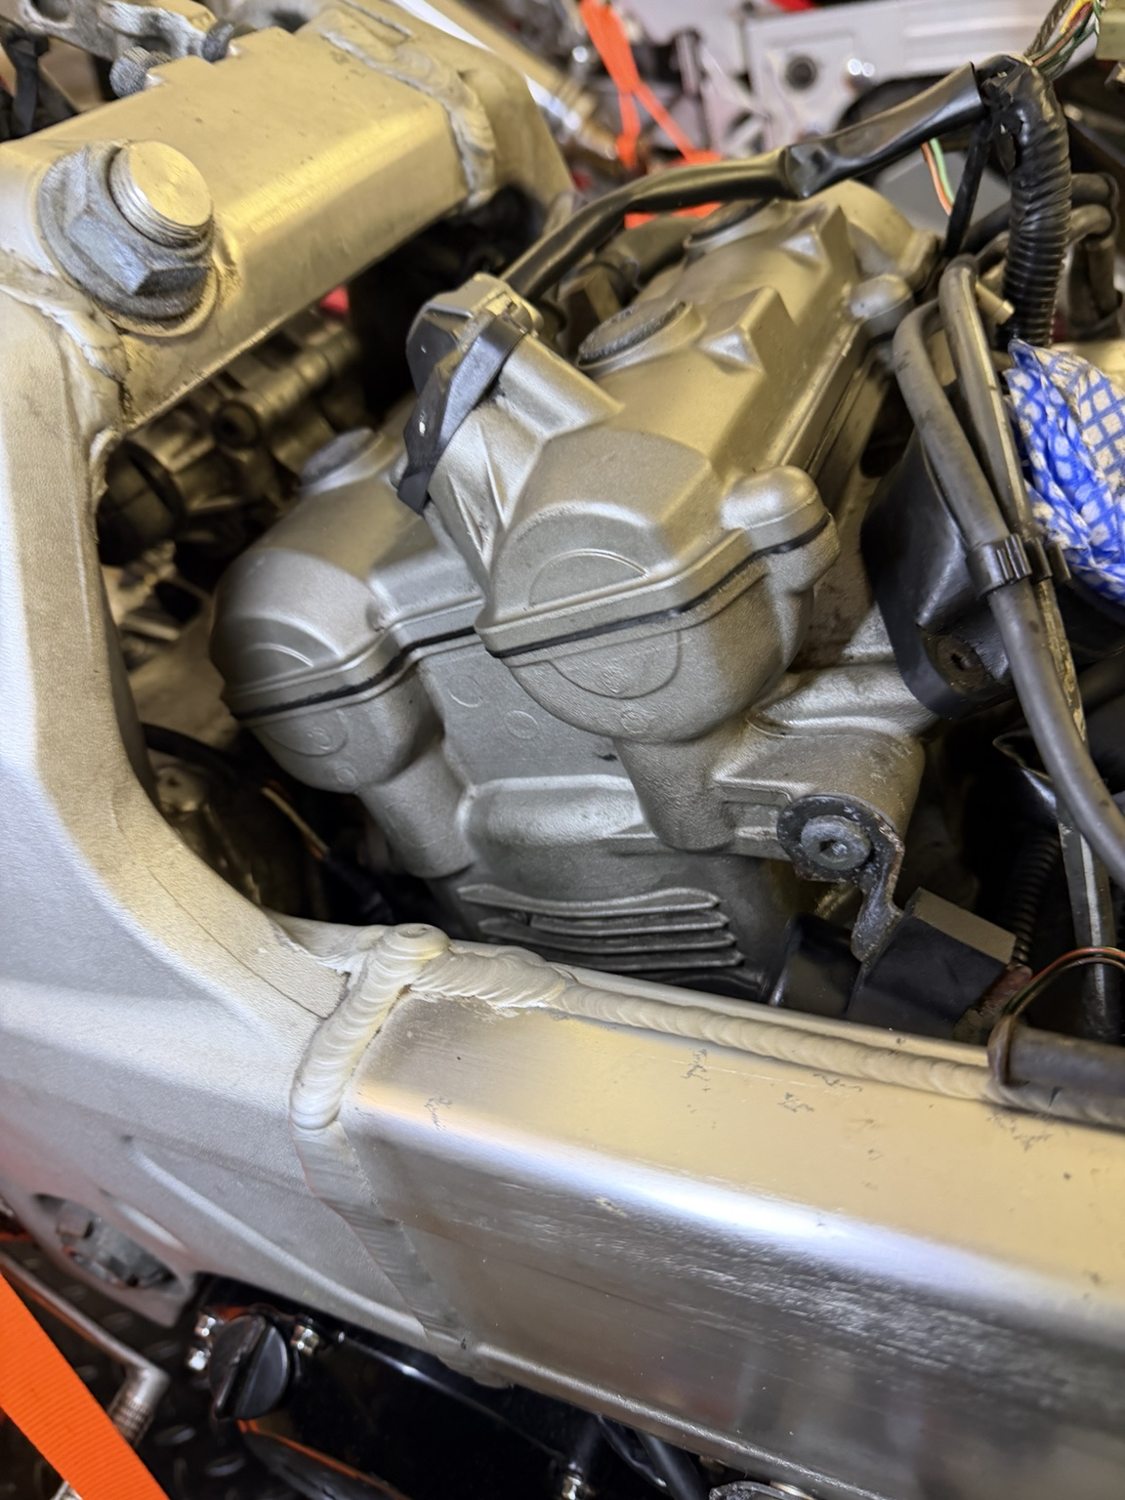
Bodywork has been removed and the TL is opened up for a proper look at the frame, engine, gearbox, suspension, brakes, wiring and cooling system.
This is the point of the RMC process: find the issues now, while the motorcycle is in the workshop, rather than after it has been advertised.
Next
Inspection, servicing and recommissioning continue. We'll add the work, findings and photographs here as the TL progresses.
Stage 03 · Going Deeper
The Work You Don't Normally See
With the TL stripped down, we’ve been able to inspect and clean areas normally hidden beneath the bodywork. The frame, engine, wiring, brackets and other components have all received attention, with parts cleaned by hand, in the parts washer and using our ultrasonic cleaner. These photographs document the work as it progresses, including components after cleaning and preparation.
Stage 04 · Workshop Update
Cleaning Reveals The Real Work
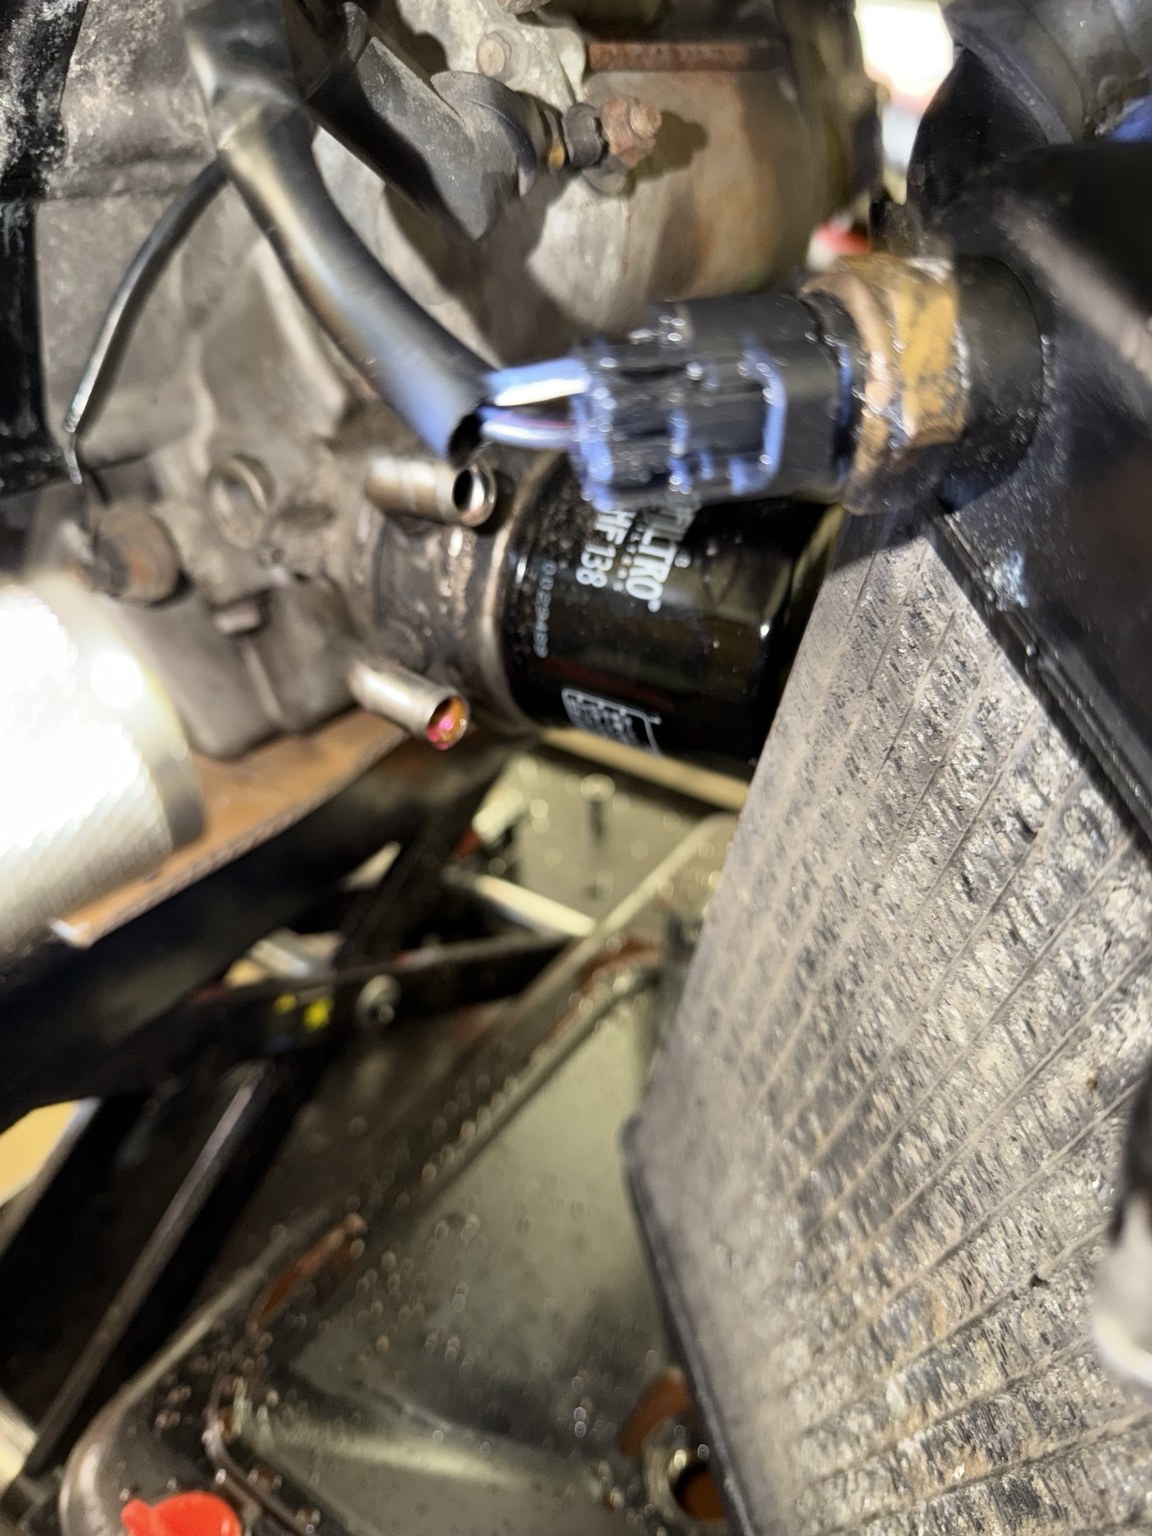
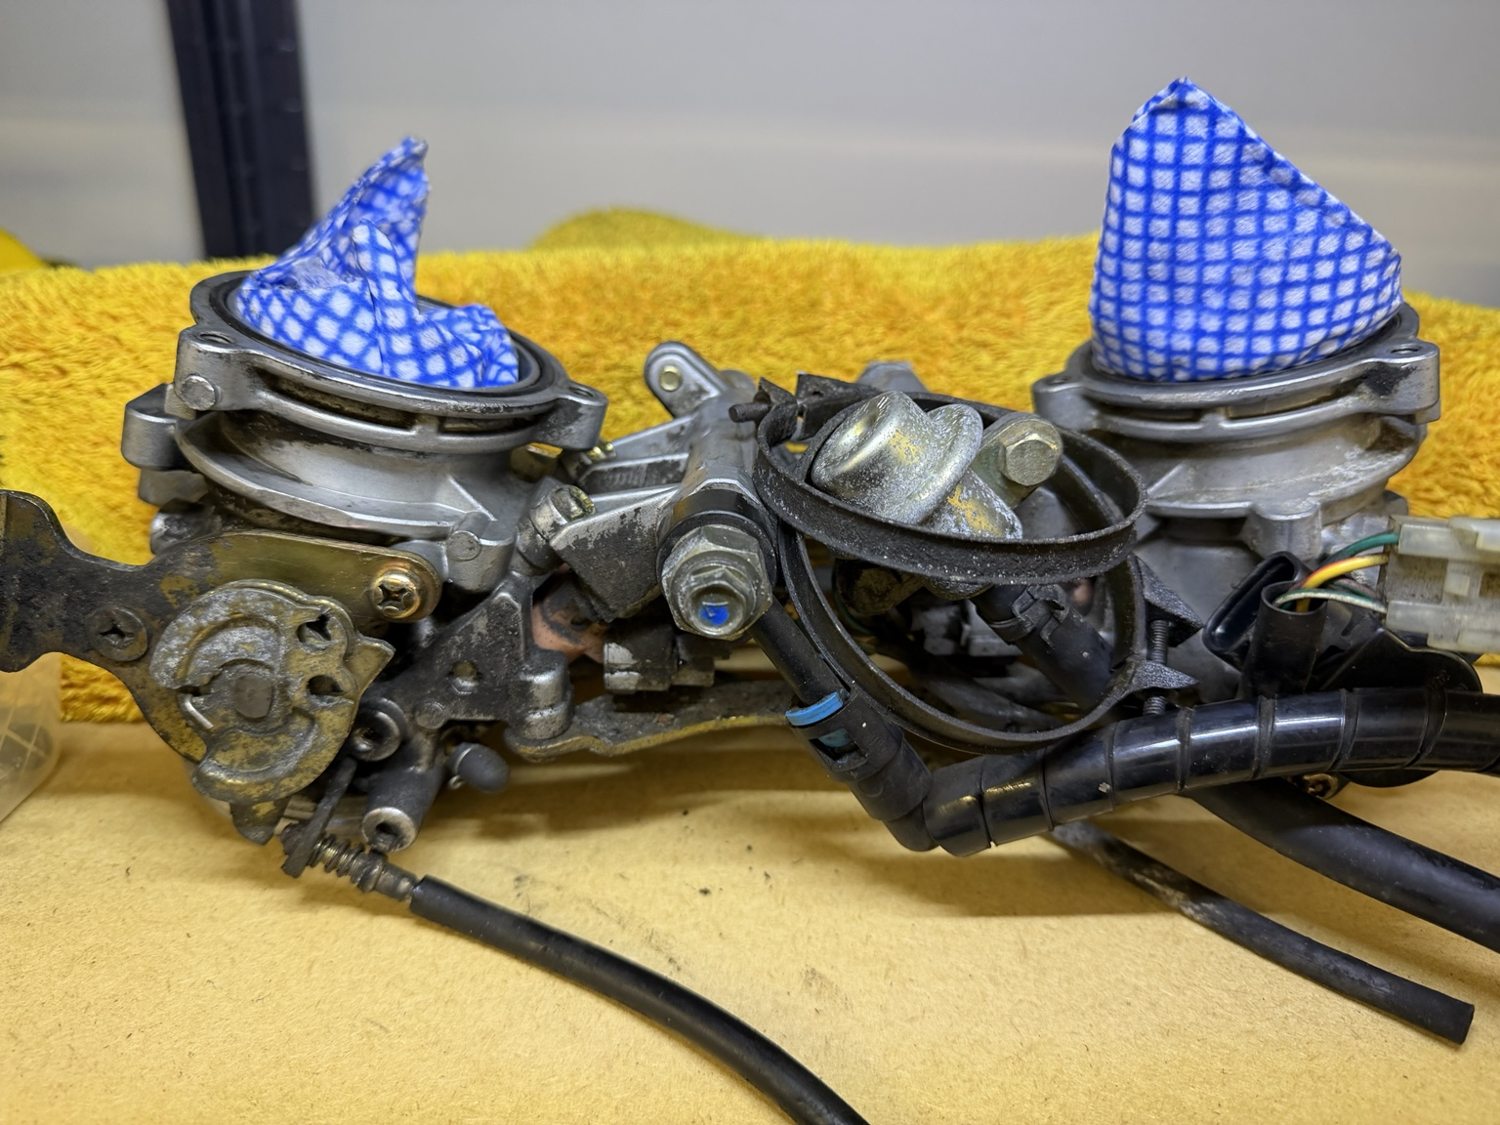
The engine is cleaning up well, but the throttle bodies have substantial surface corrosion and need careful inspection. We've removed the throttle-body assembly to assess its seals and linkages before cleaning. The radiators and cooling system are also being checked.
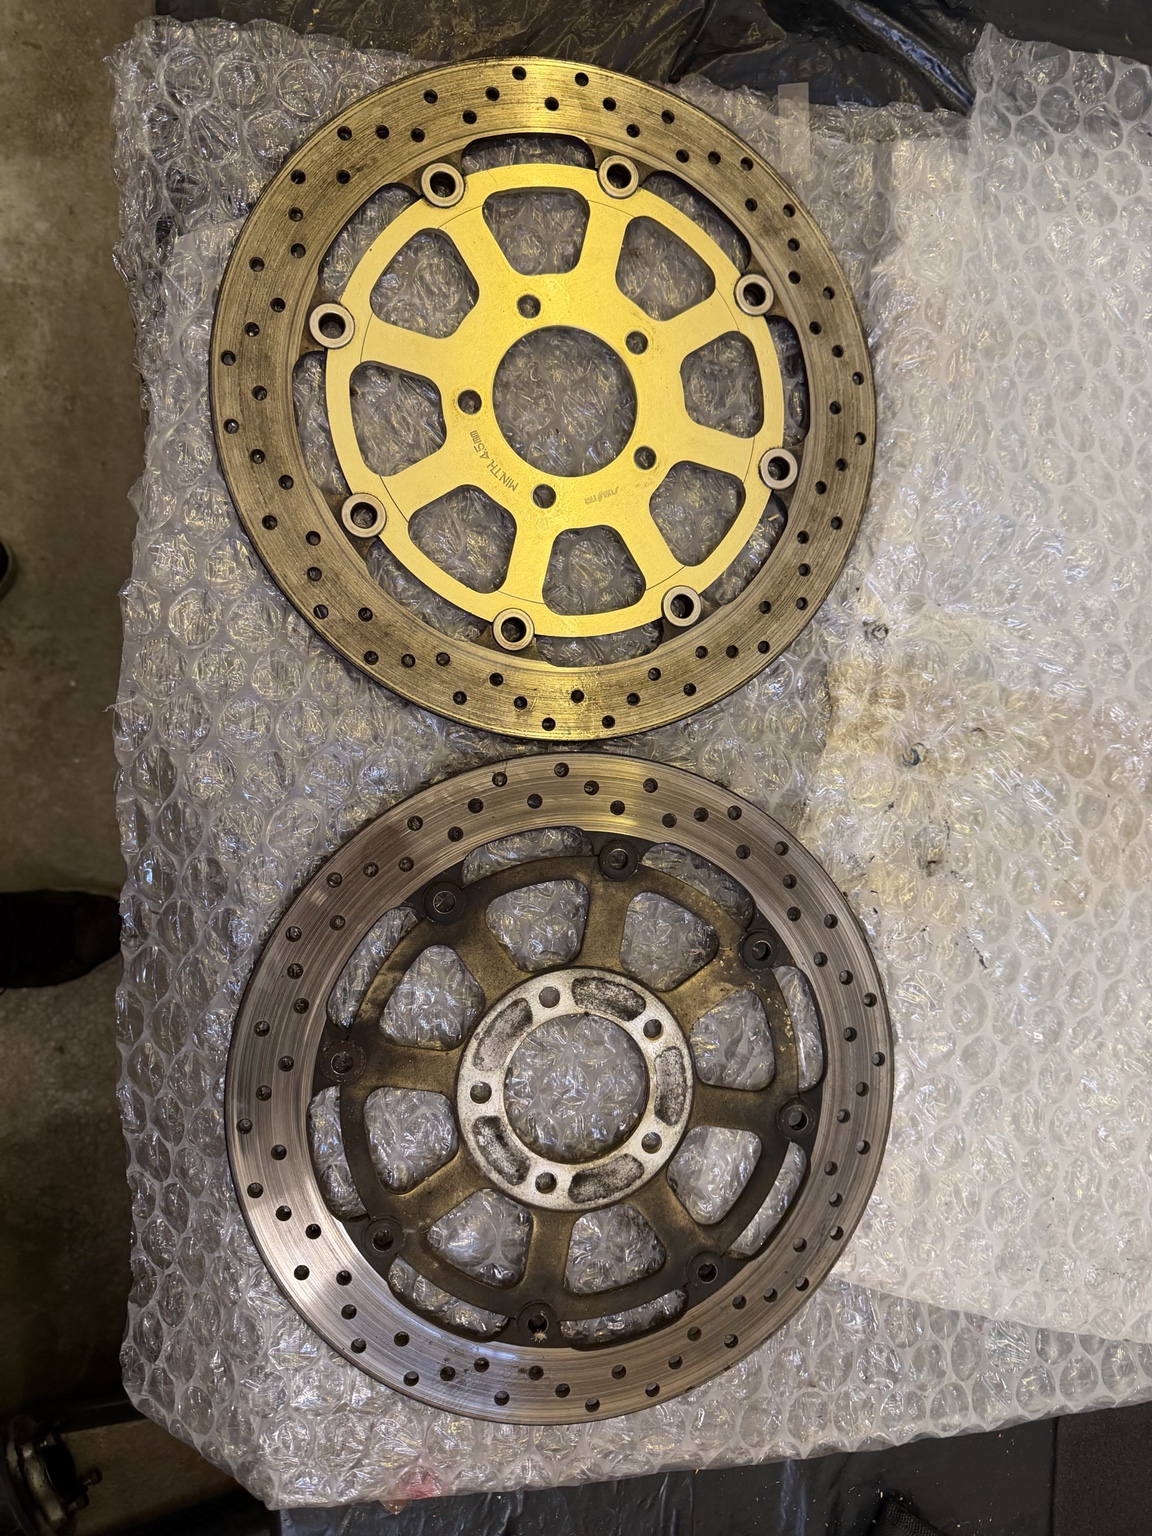
The wheels have been stripped of their discs and sprocket components. We're considering refinishing options and will document the outcome once the work is complete.
Stage 05 · Initial Findings
Behind The Front Sprocket Cover
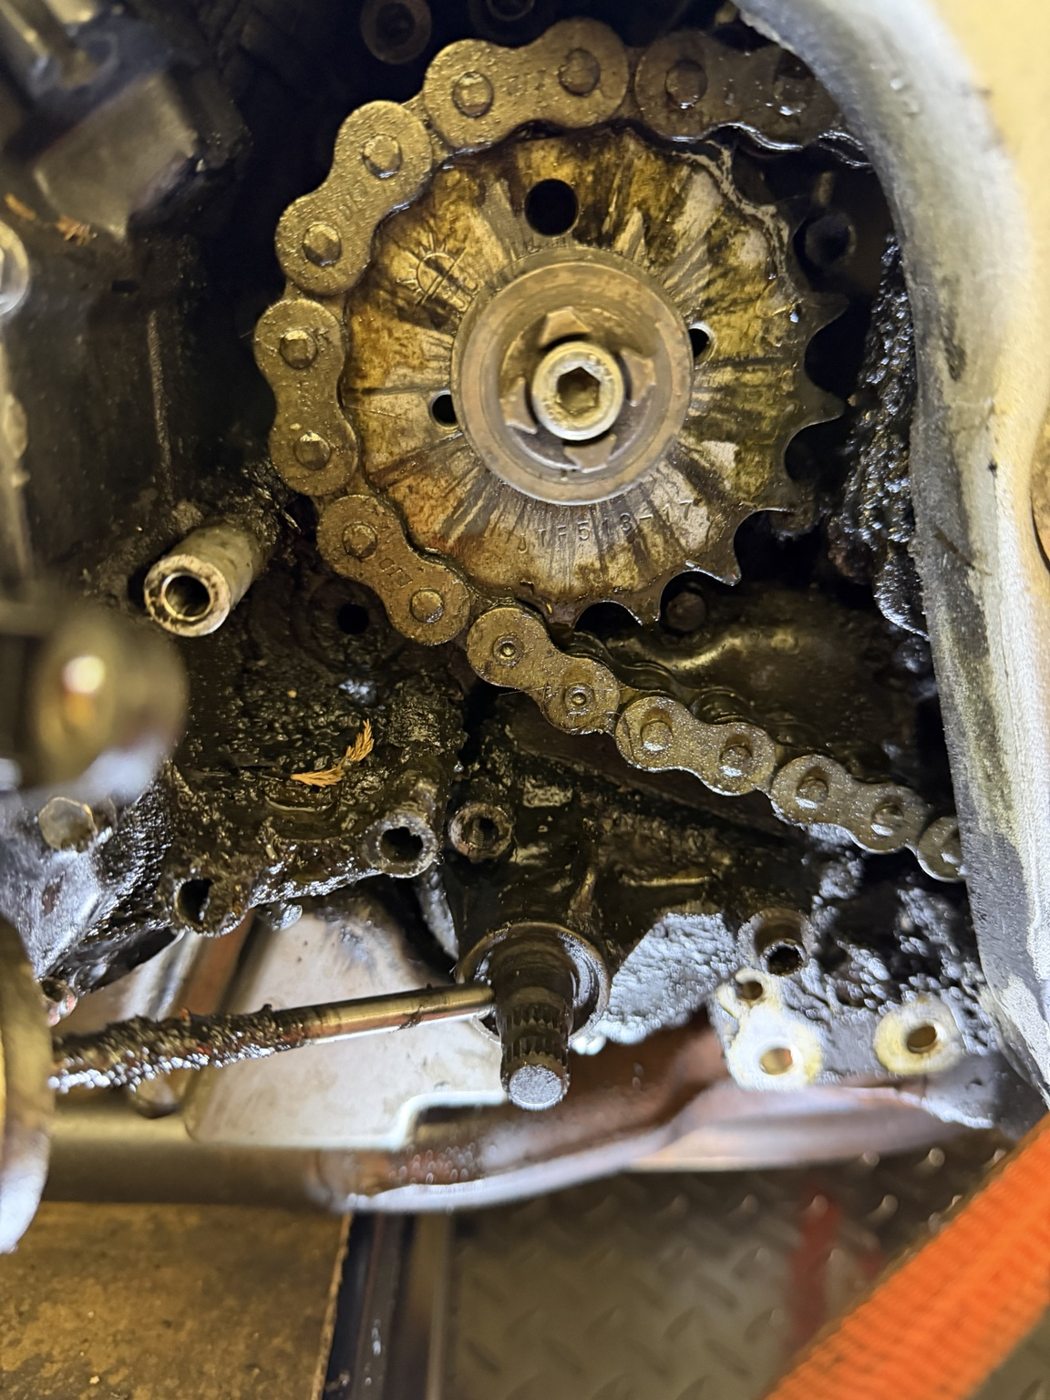
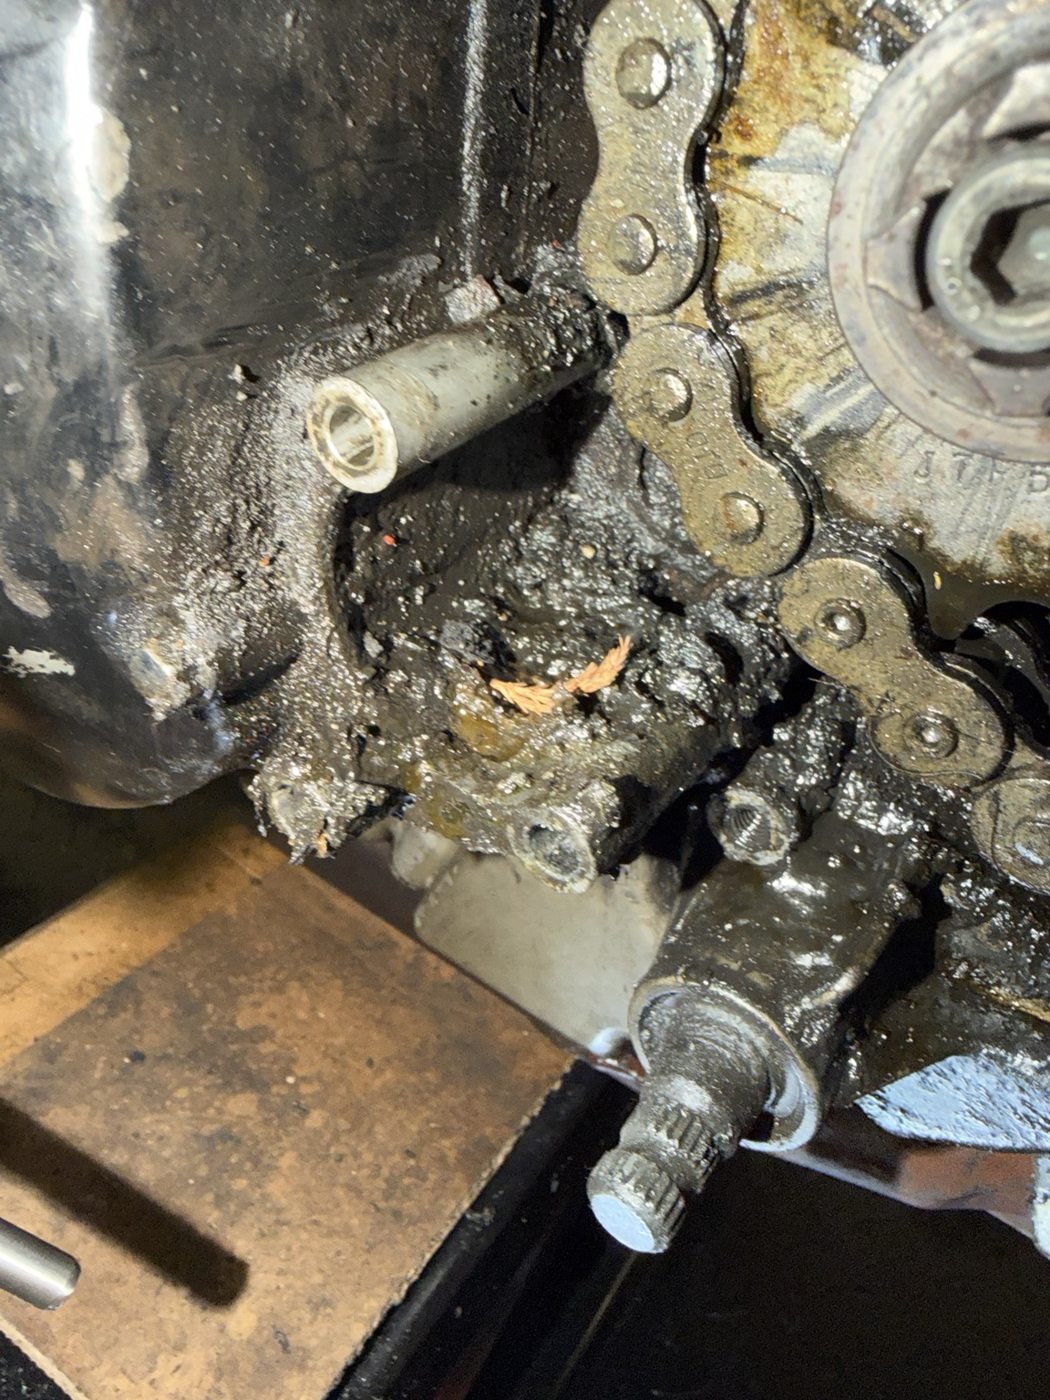
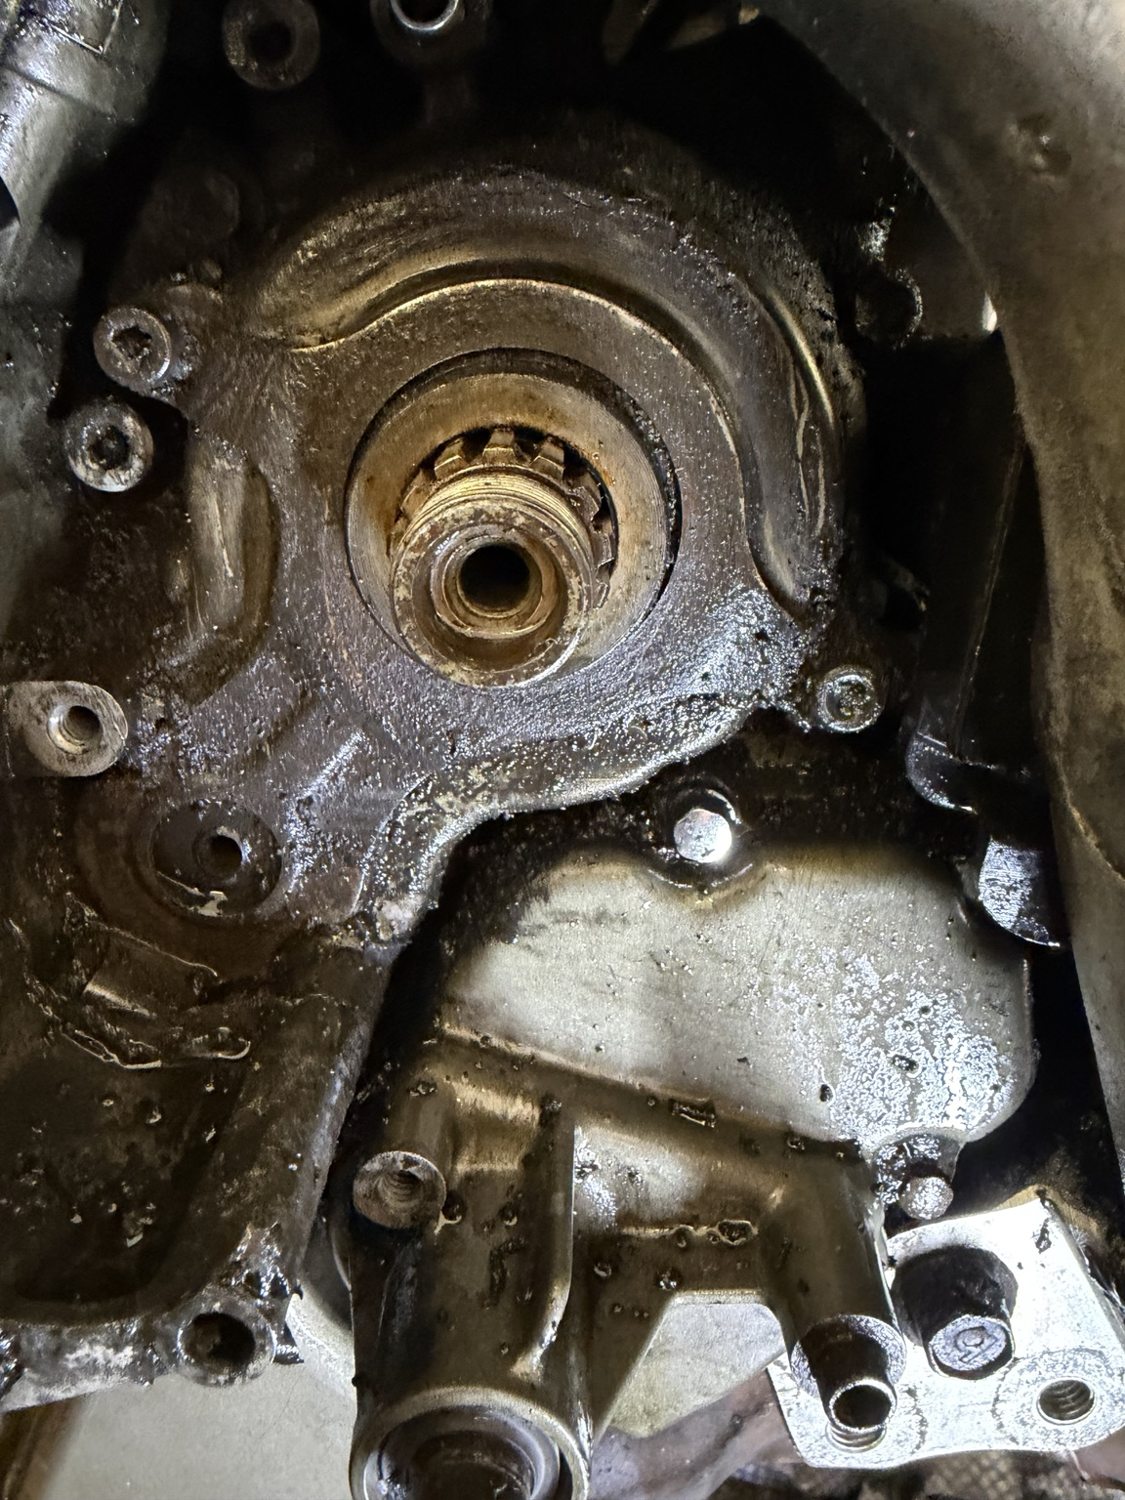
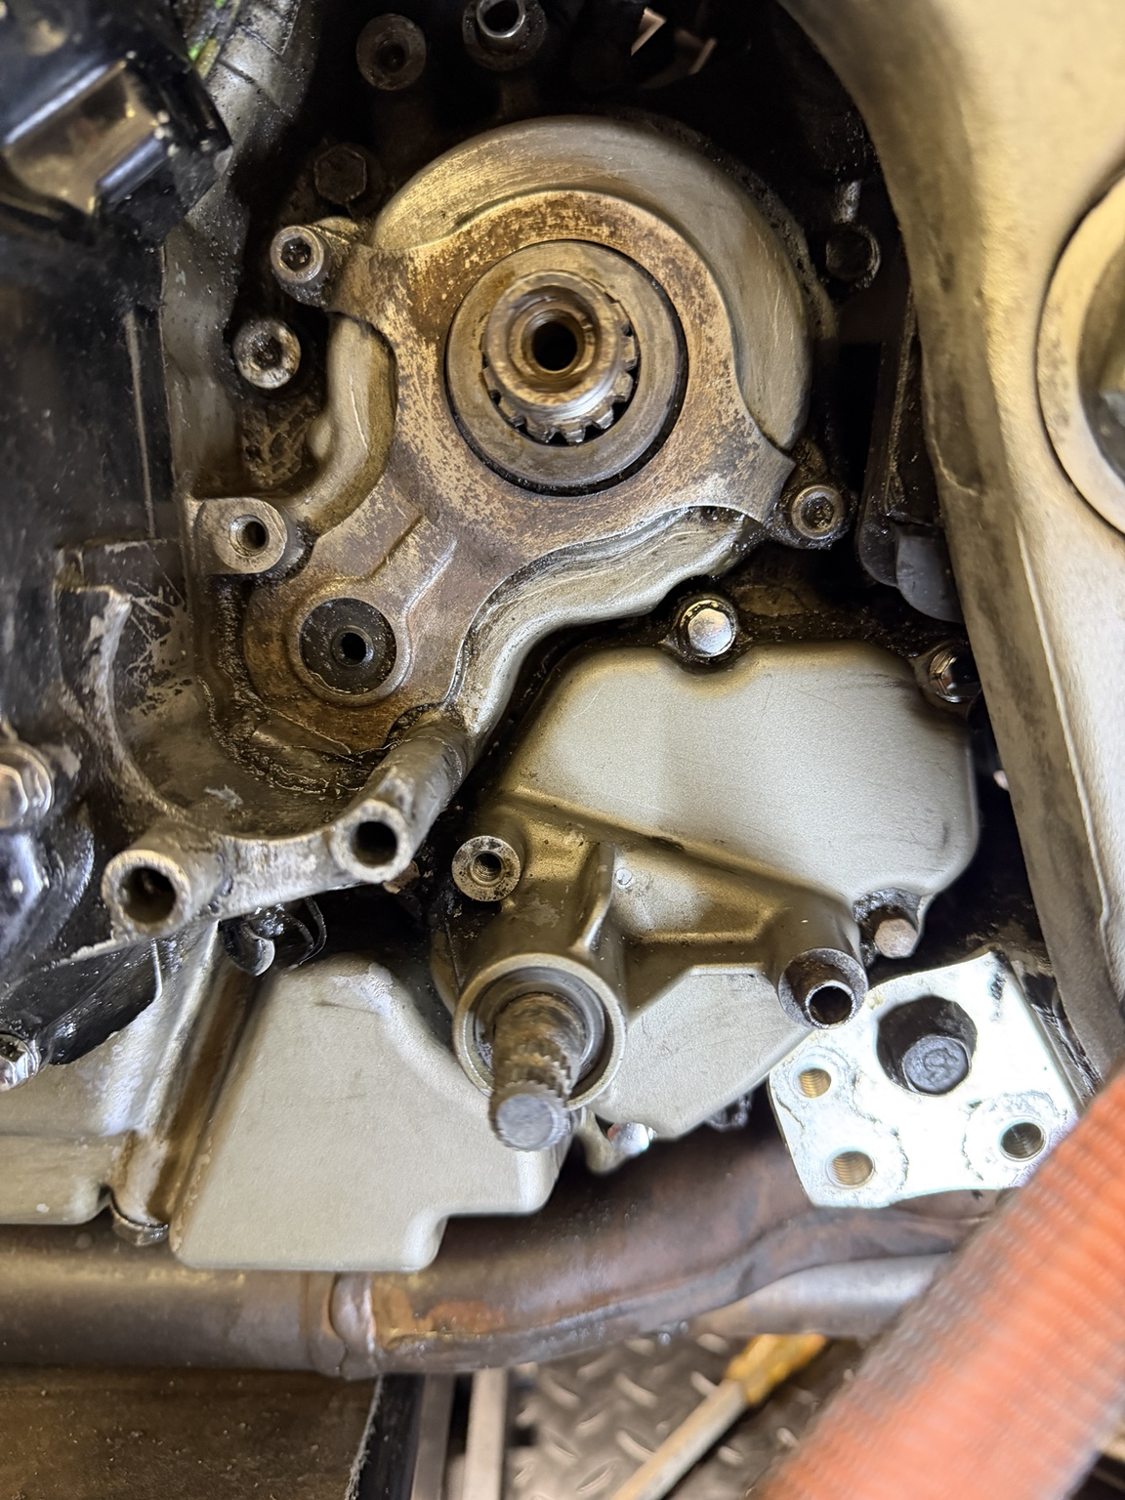
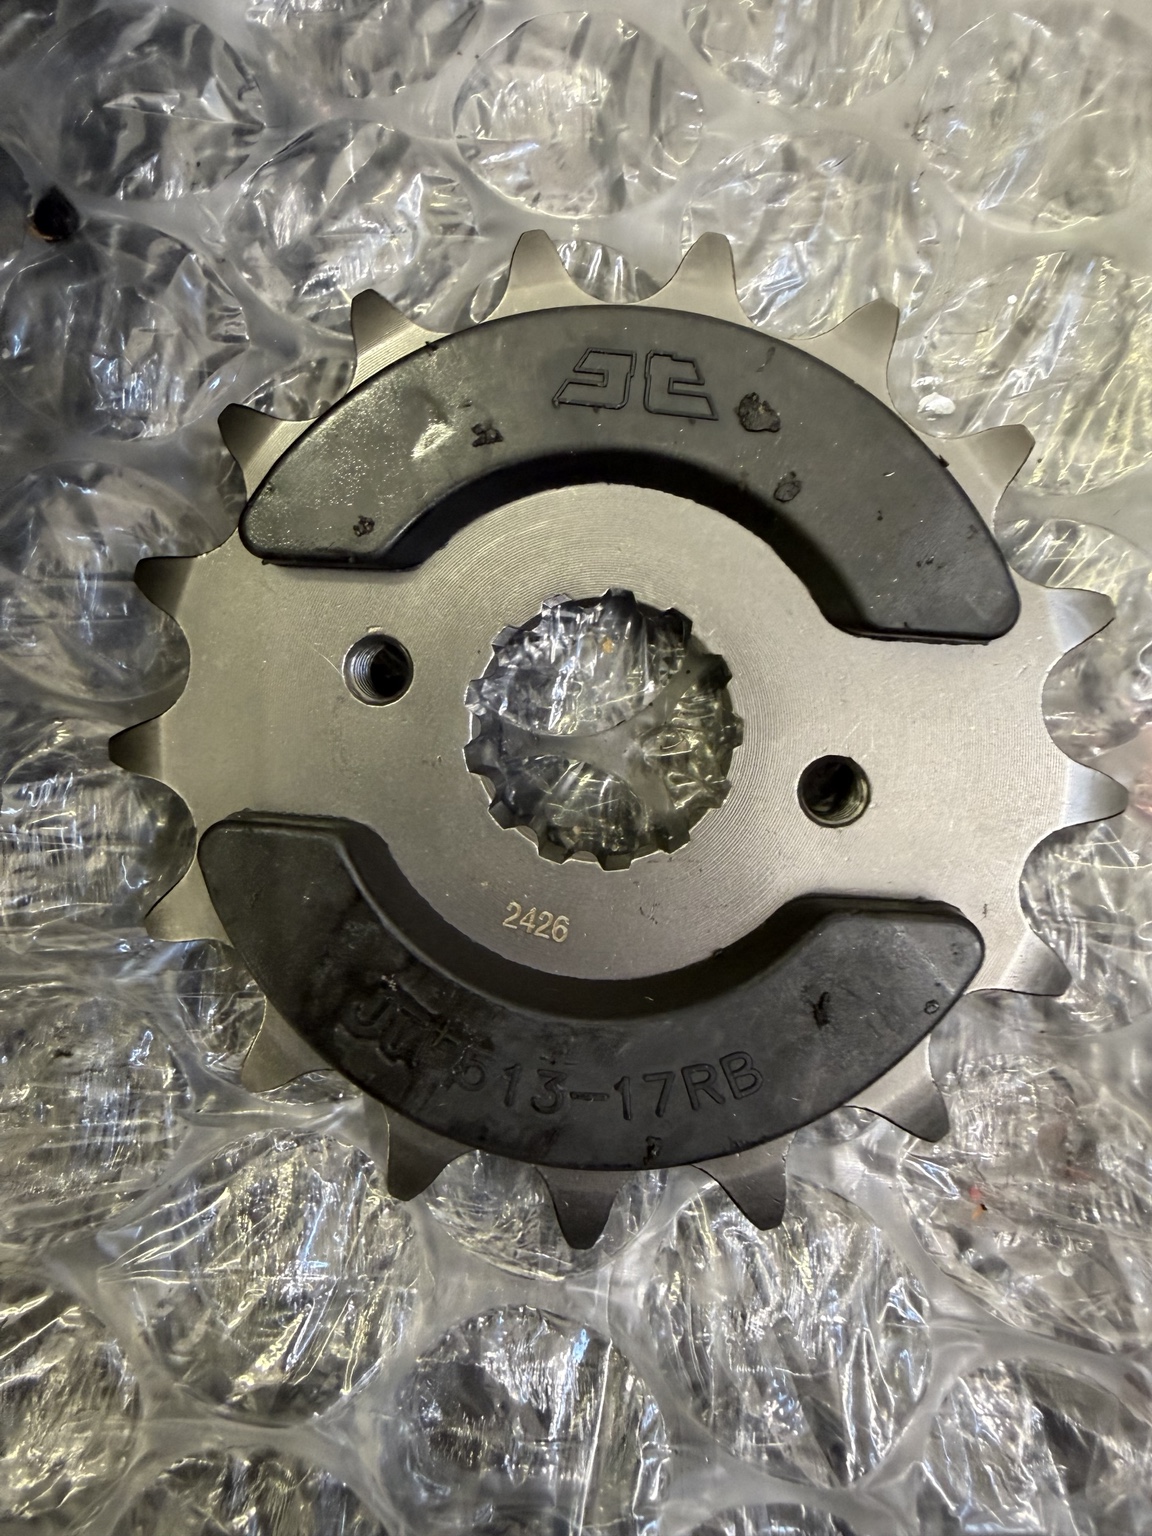
Removing the front sprocket cover revealed a substantial build-up of old chain lubricant, road dirt and oily residue around the sprocket and gear-selector shaft. We need to clean the area and inspect the relevant seals before determining whether any oil leak is present.
Stage 06 · Cleaning & Inspection
What Lies Beneath
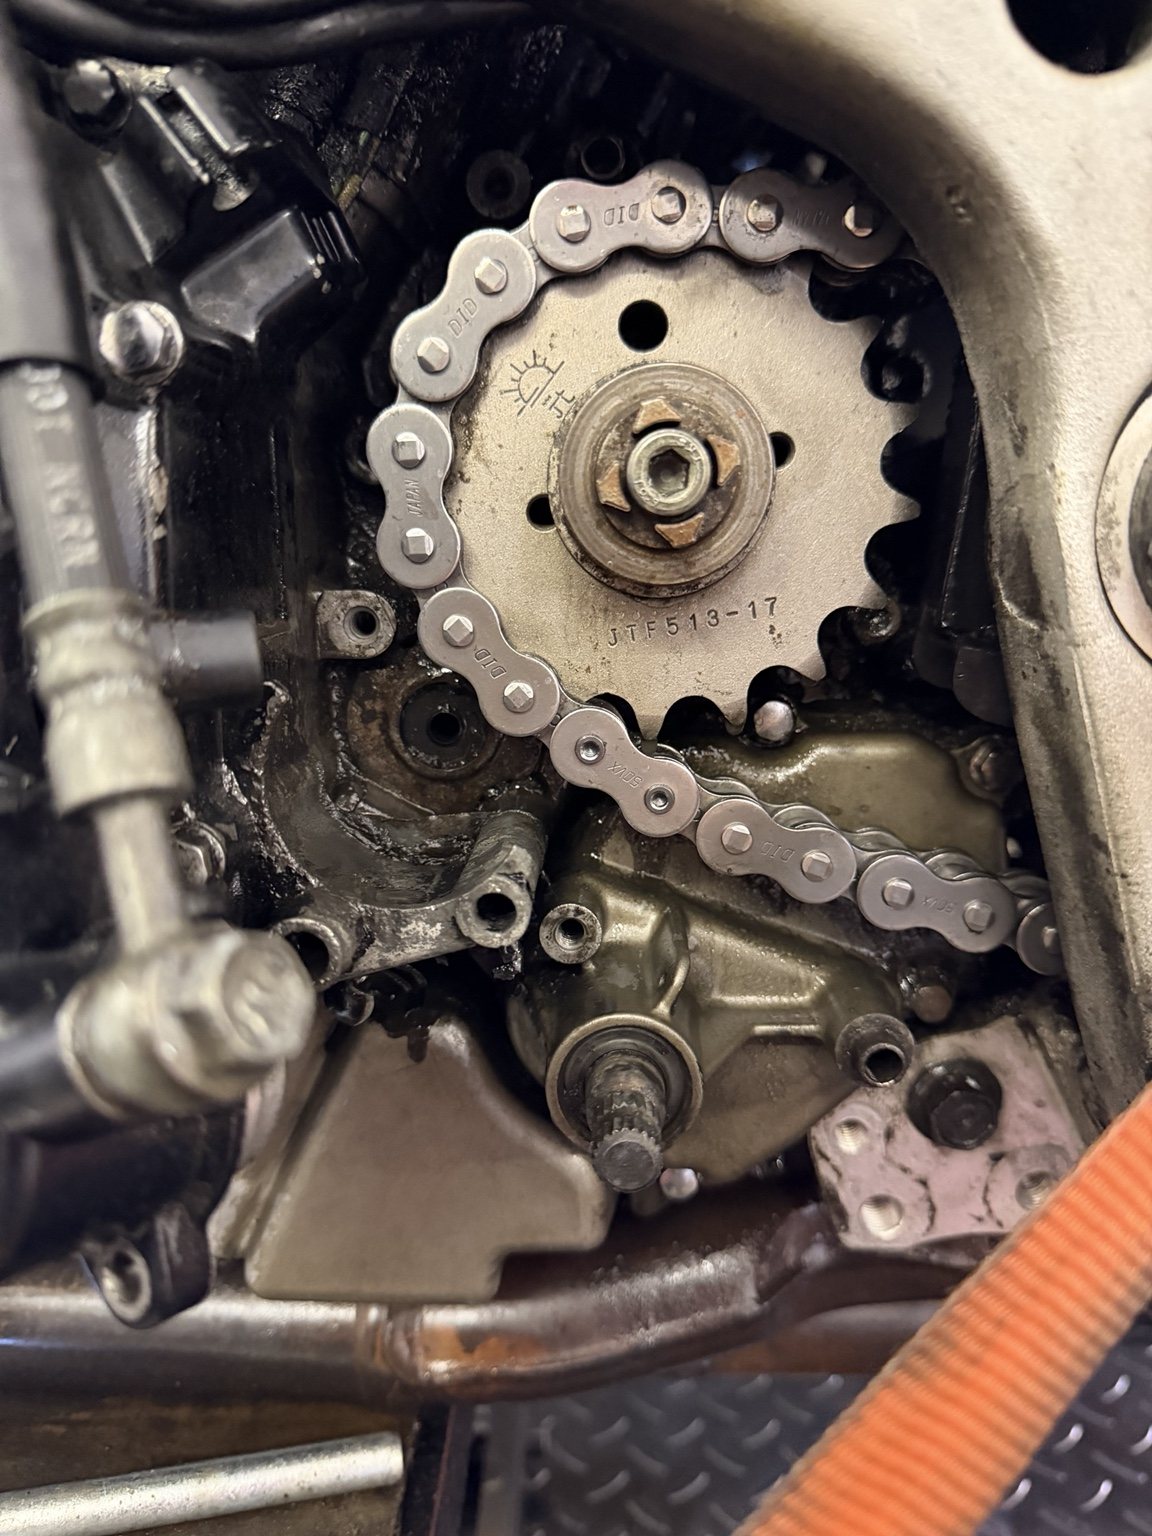
Here's why we document the less glamorous jobs. Cleaning the front sprocket area has exposed the components previously hidden beneath thick grease and road dirt. That makes it easier to inspect the gear-selector shaft, nearby seals and surrounding engine cases.
BEFORE · Old grease and road dirtAFTER · Cleaned for inspection
Engine And Front End
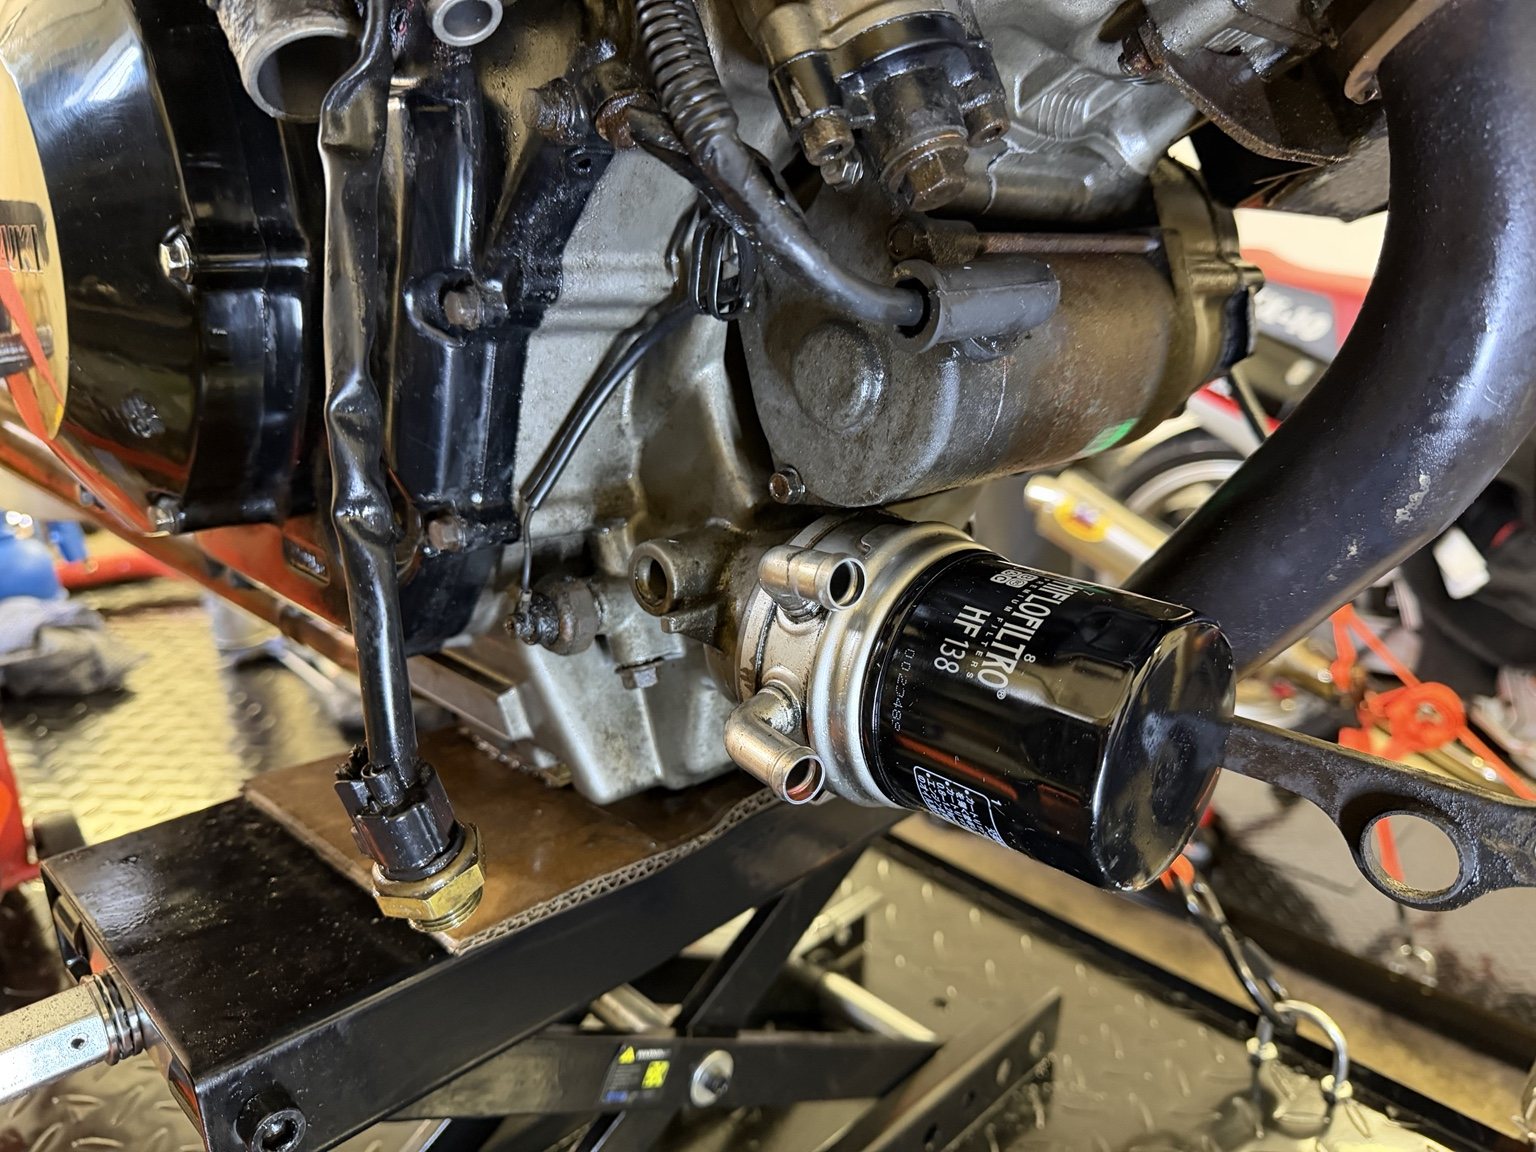
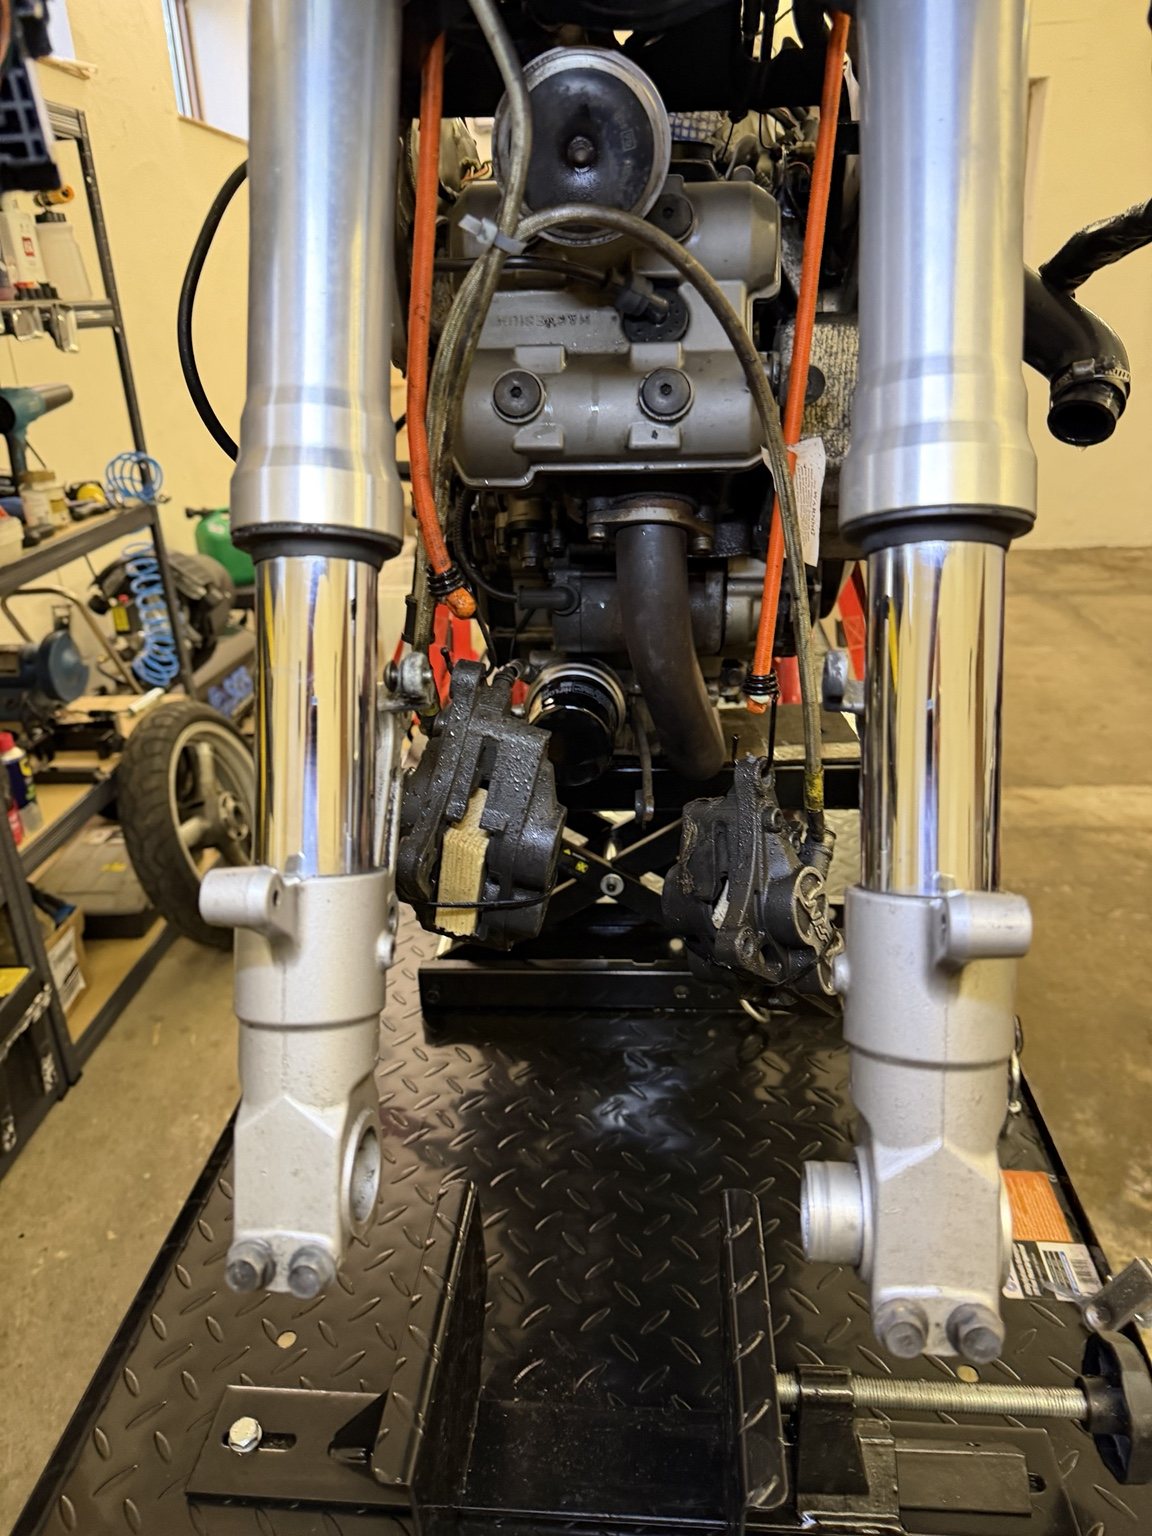
We're working through the exposed engine, cleaning accessible surfaces and inspecting hoses, connections and fixings. Cleaning is progress, not proof of a completed repair; any suspected leaks will be checked before reassembly.
ENGINE · Cleaning in progressFRONT END · Stripped for inspection
Still To Come
Seal inspection, servicing, outstanding mechanical work, reassembly, road test and MOT preparation.
Stage 07 · Fuel & Induction
Twenty-Eight Years Beneath The Surface
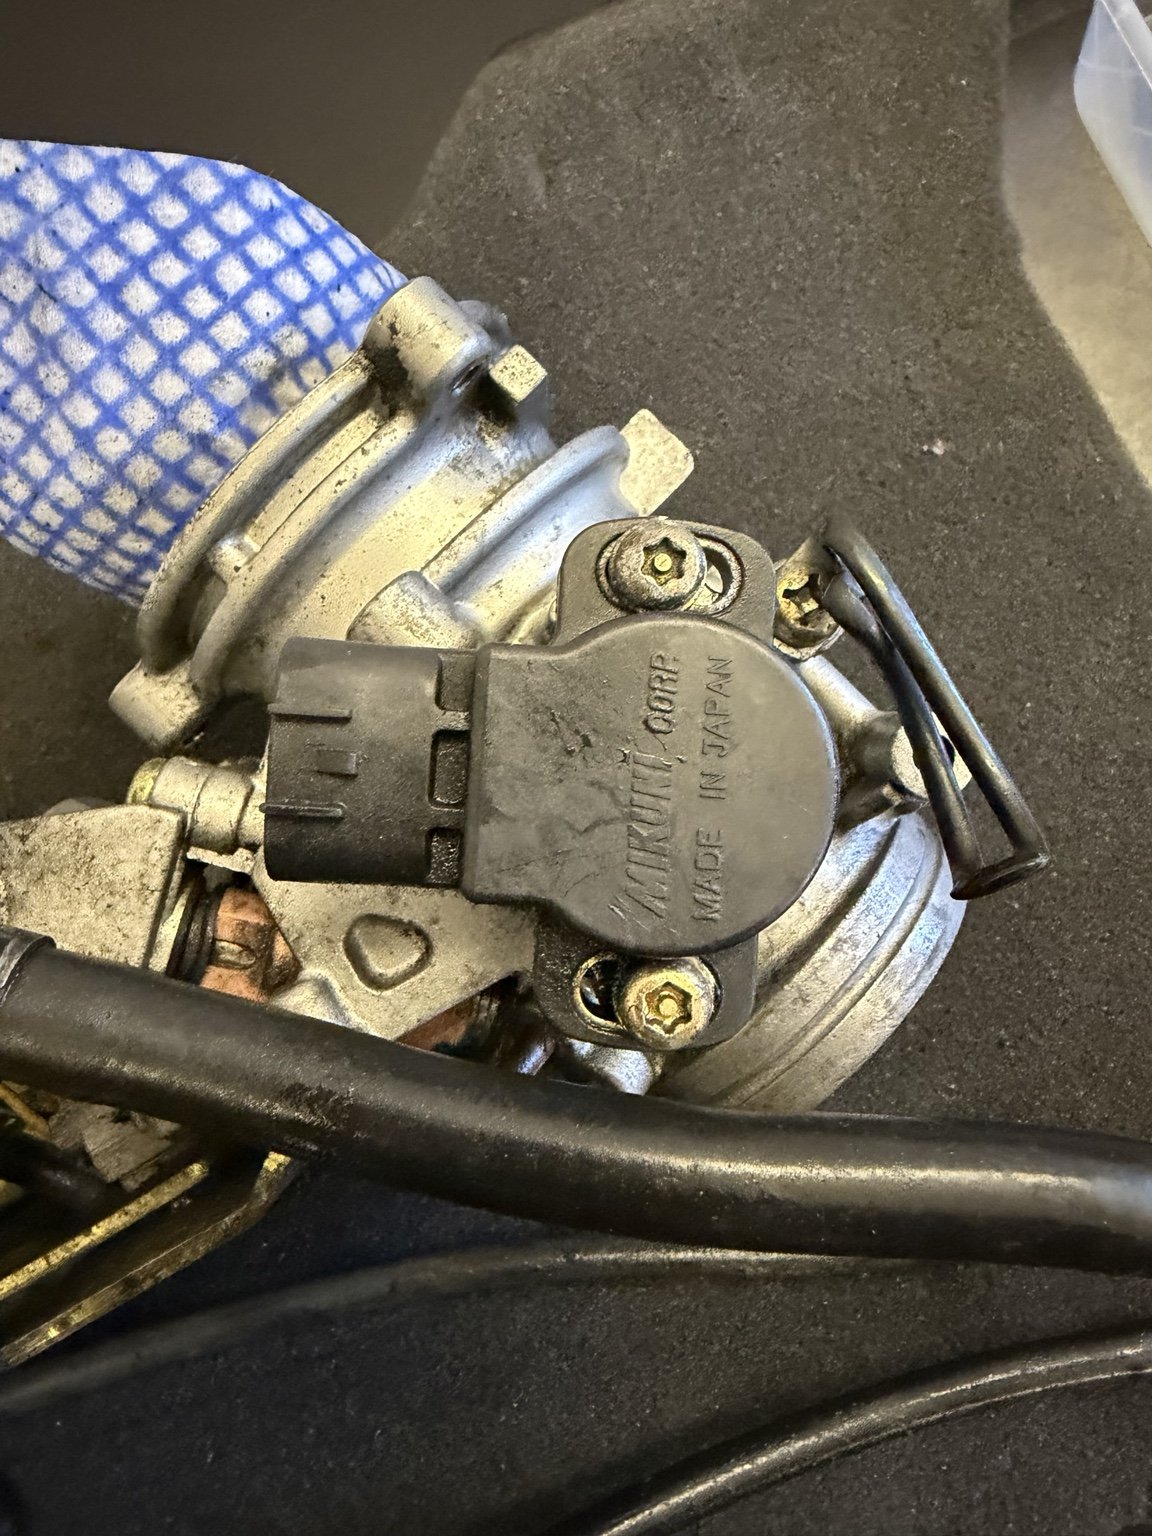
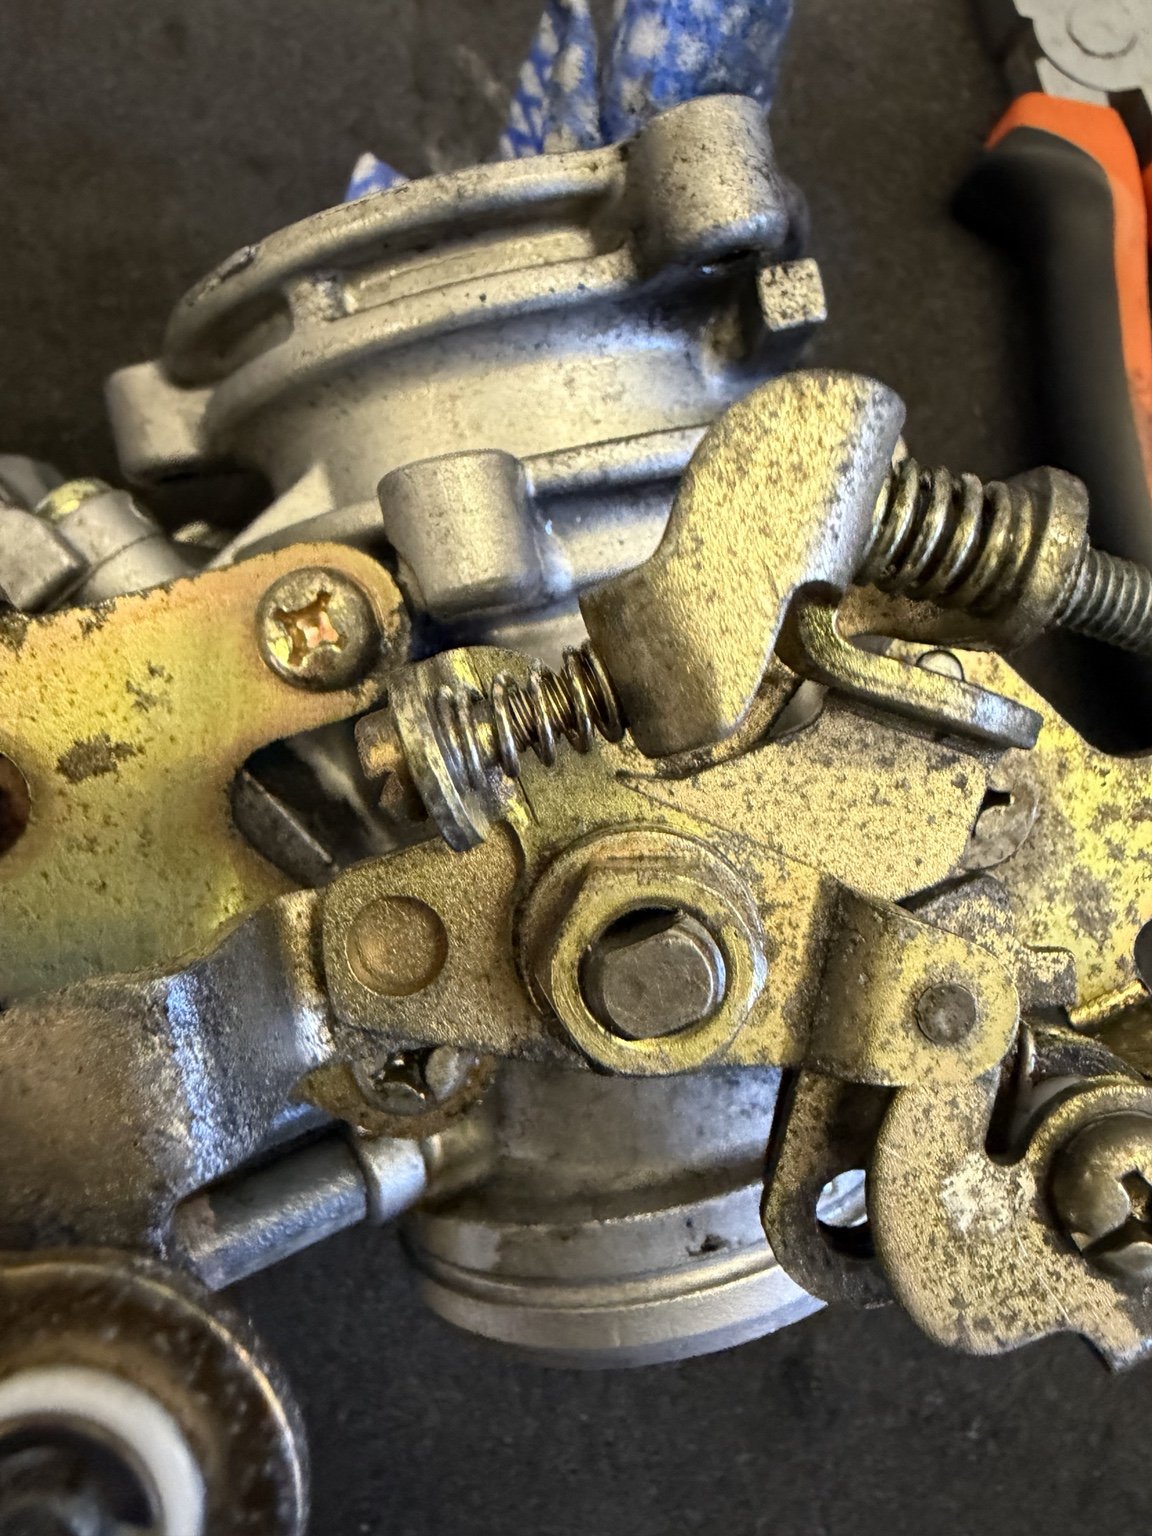
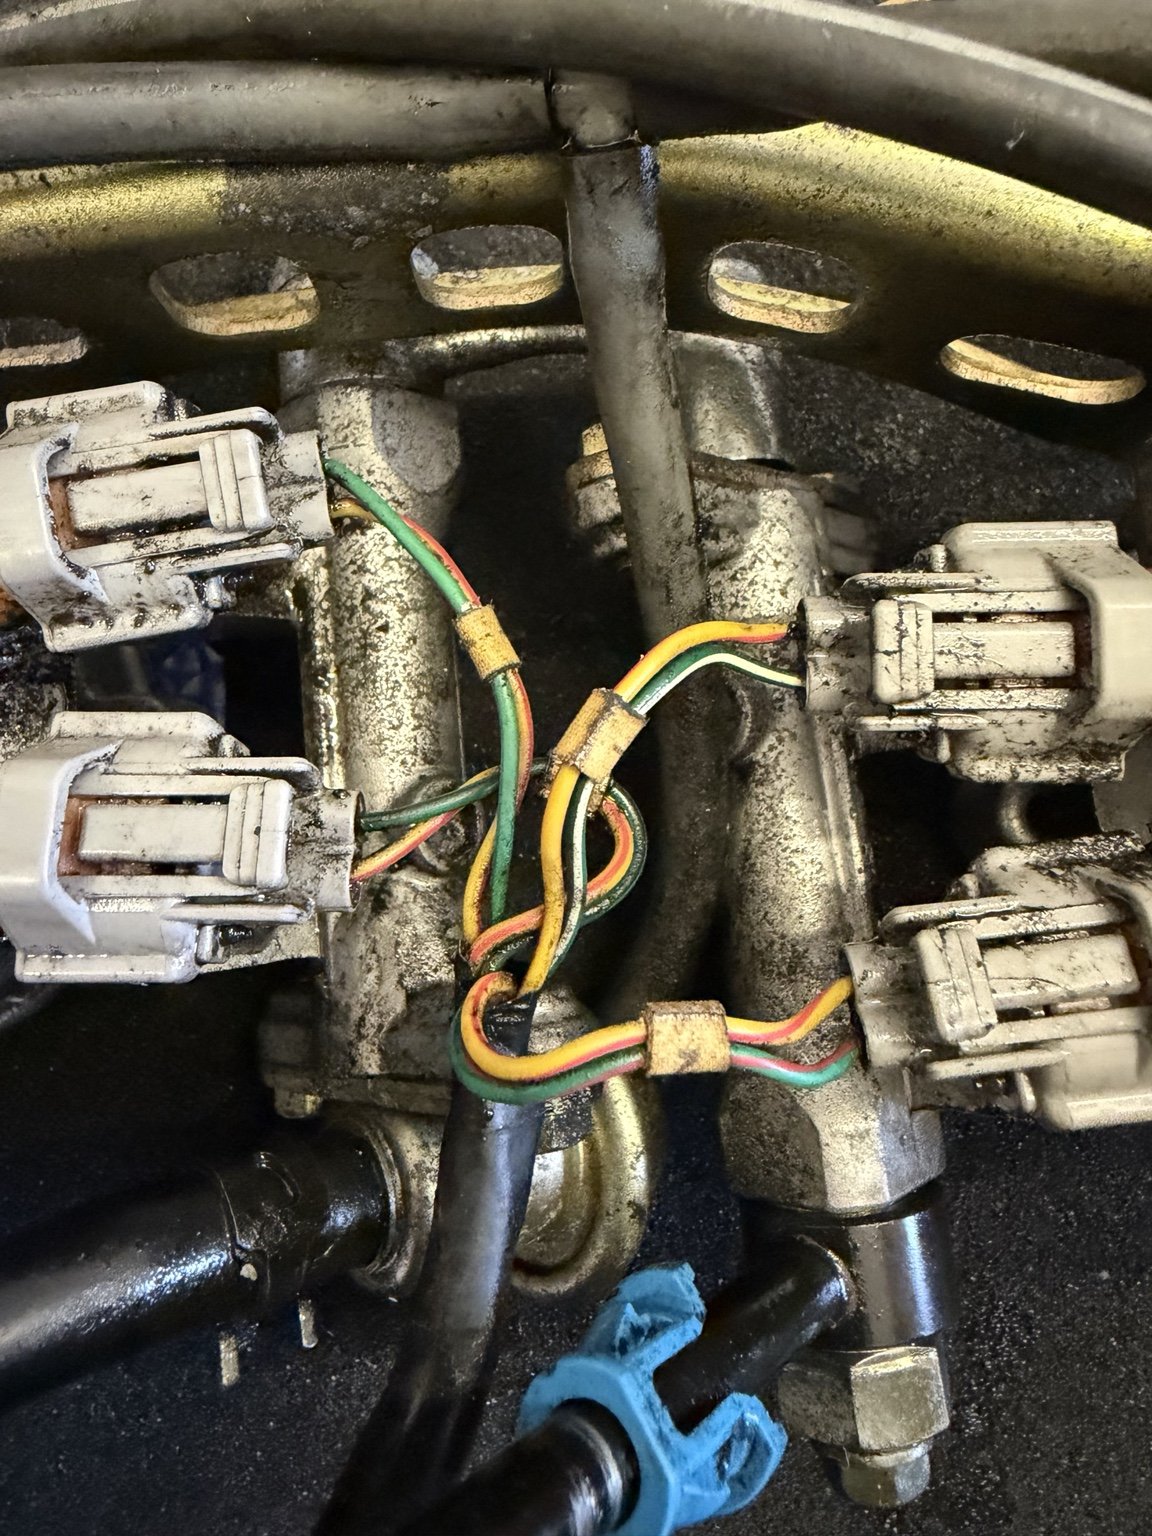
The throttle bodies are off the motorcycle for a closer look at the throttle-position sensor, linkages, return springs and electrical connectors. Surface corrosion and accumulated dirt are particularly evident around the operating mechanism. We are documenting their condition while the assembly is cleaned and checked, rather than claiming the job is finished.
THROTTLE BODY · Mikuni sensor and housingLINKAGE · Surface corrosion and springs
CONNECTORS · Inspection and cleaning required
Inside The Fuel Tank
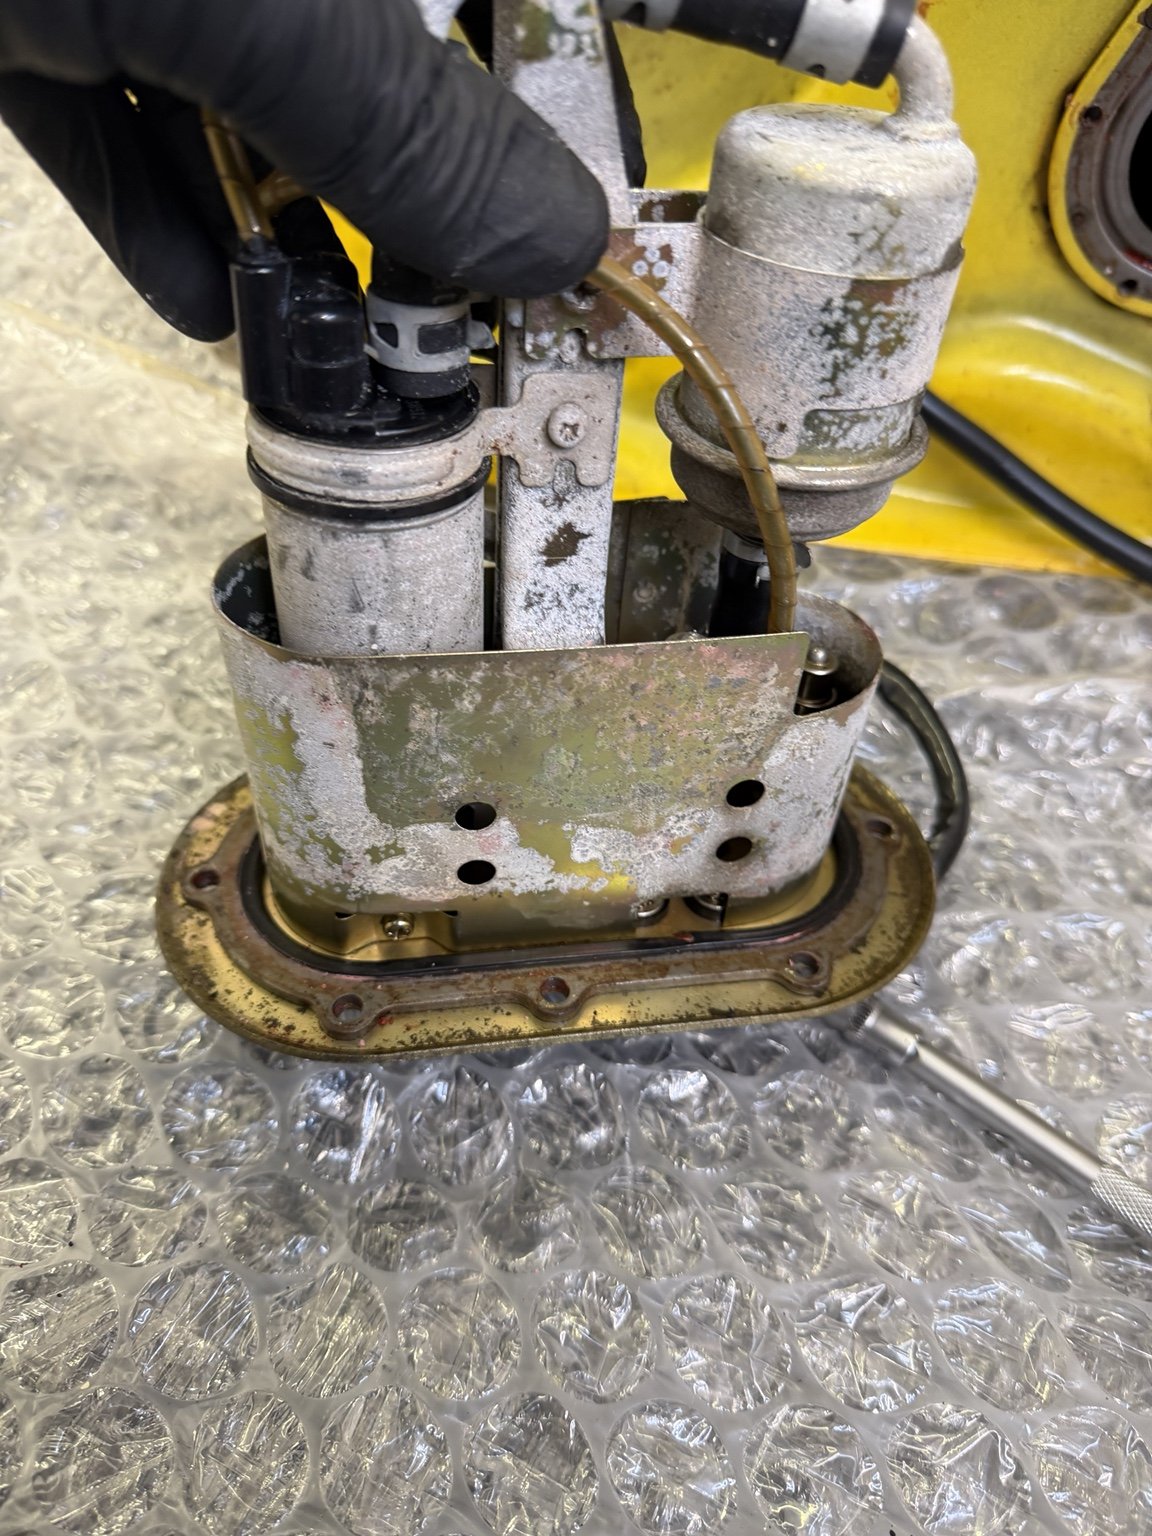
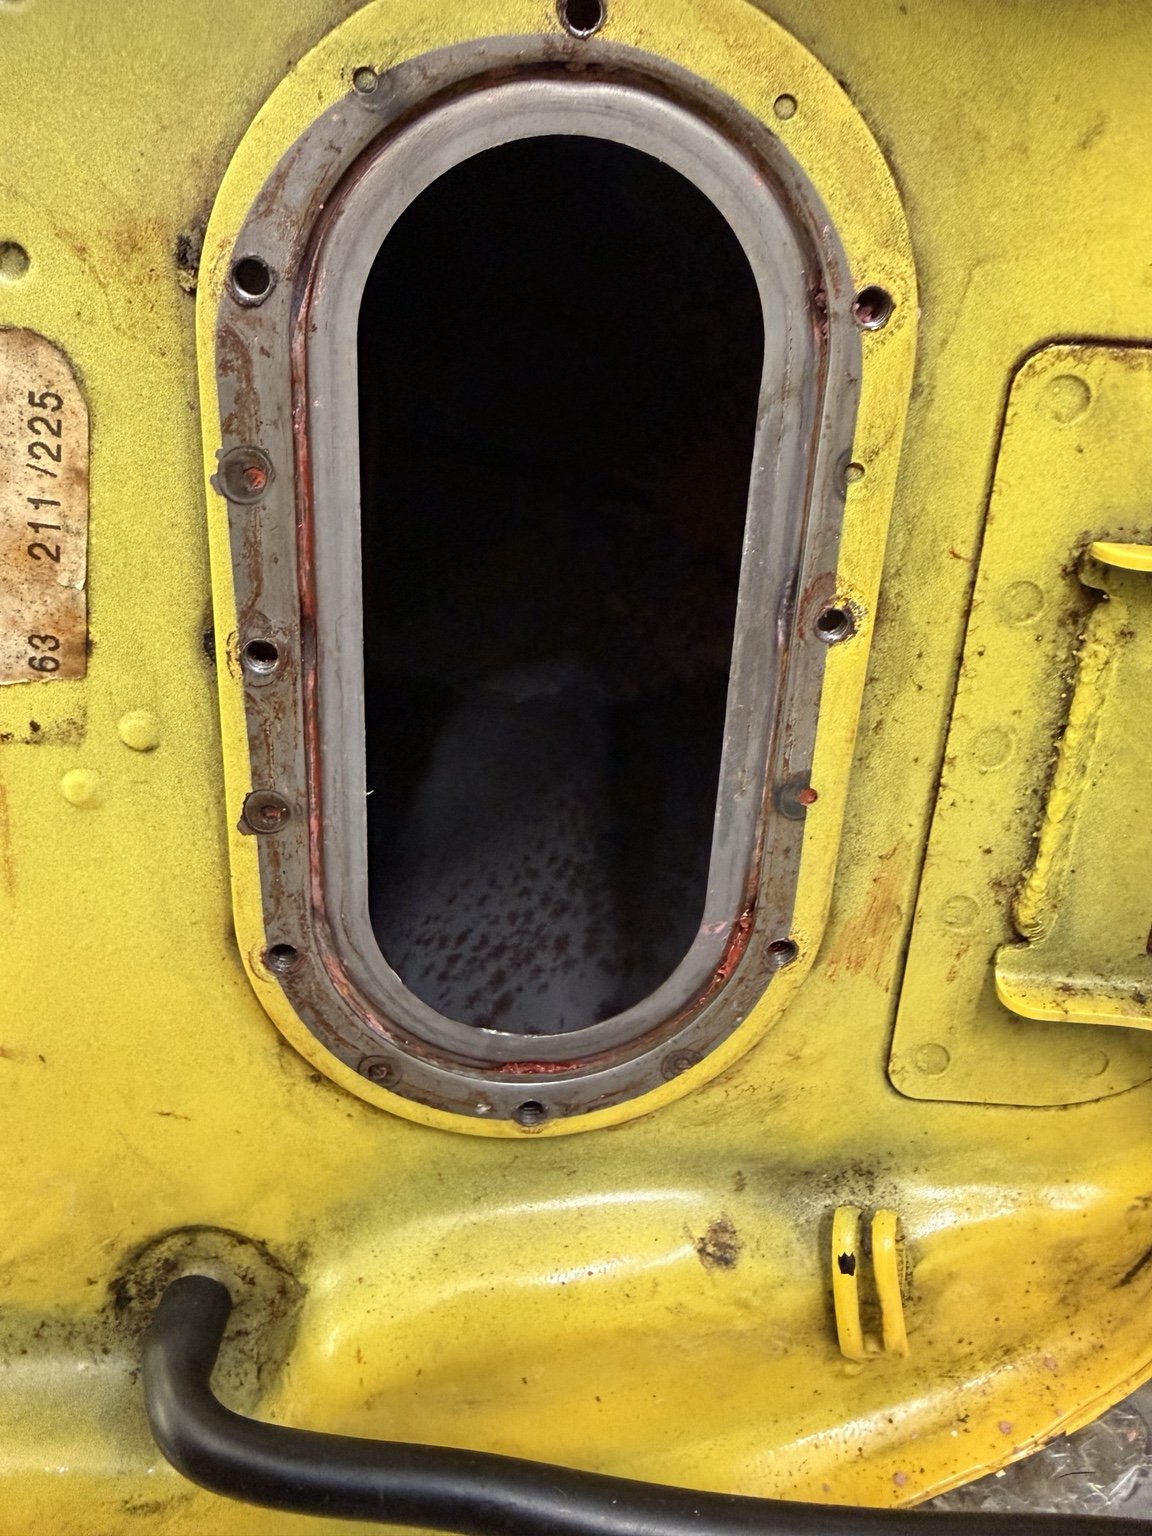
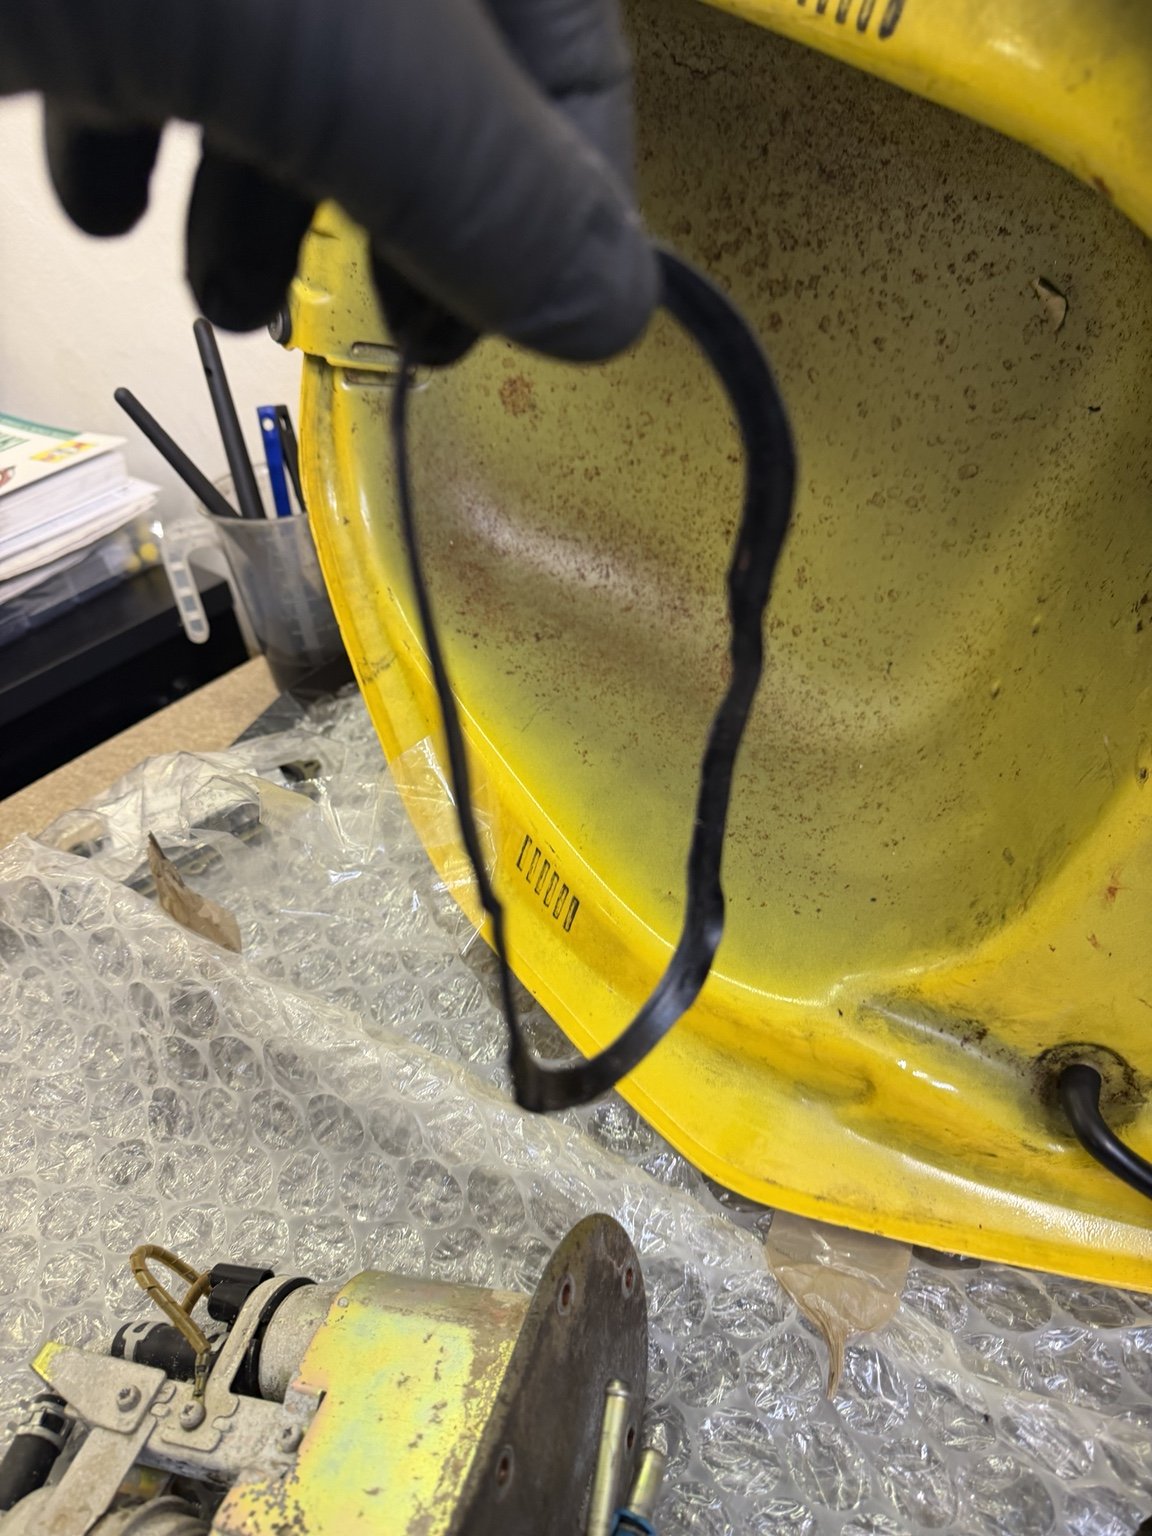
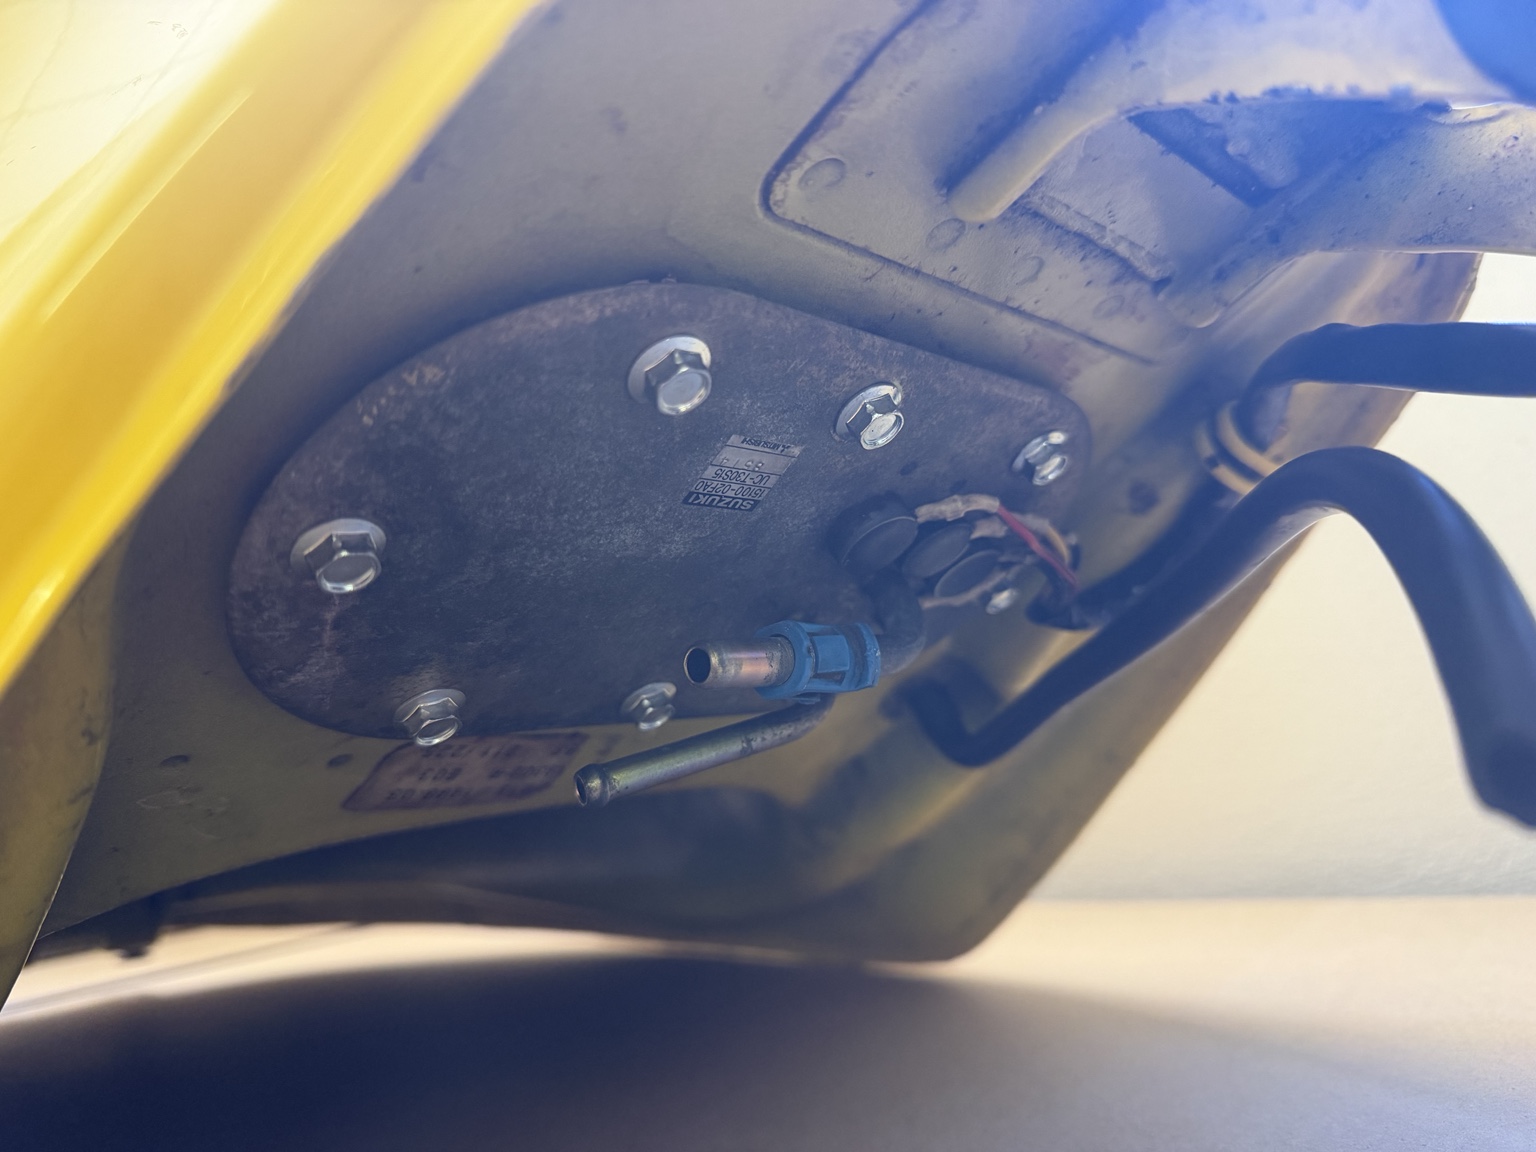
We've removed the fuel-pump assembly from the yellow tank to inspect the mounting flange, pump components, wiring and sealing surfaces. The photographs show corrosion and deterioration on the assembly and residue around the tank opening. The tank-to-pump gasket is being addressed as part of the recommissioning.
FUEL PUMP · Removed for inspectionTANK · Pump aperture and sealing face
SEAL · Old gasket removed
Further Fuel-System Inspection
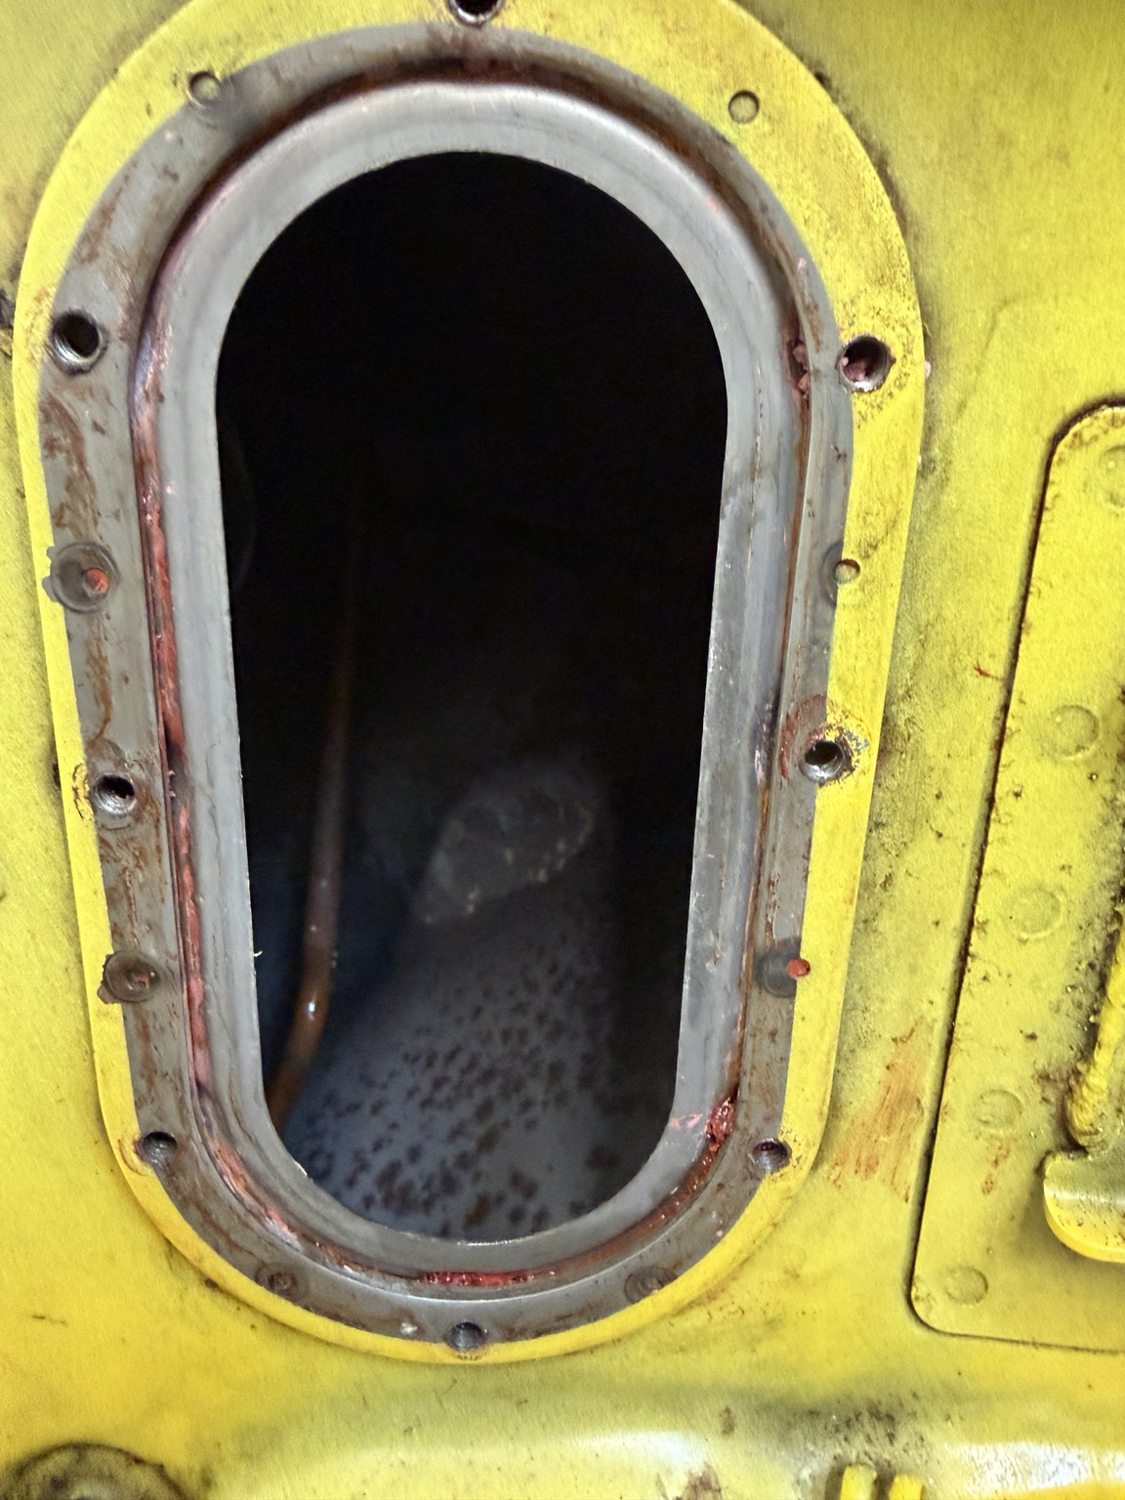
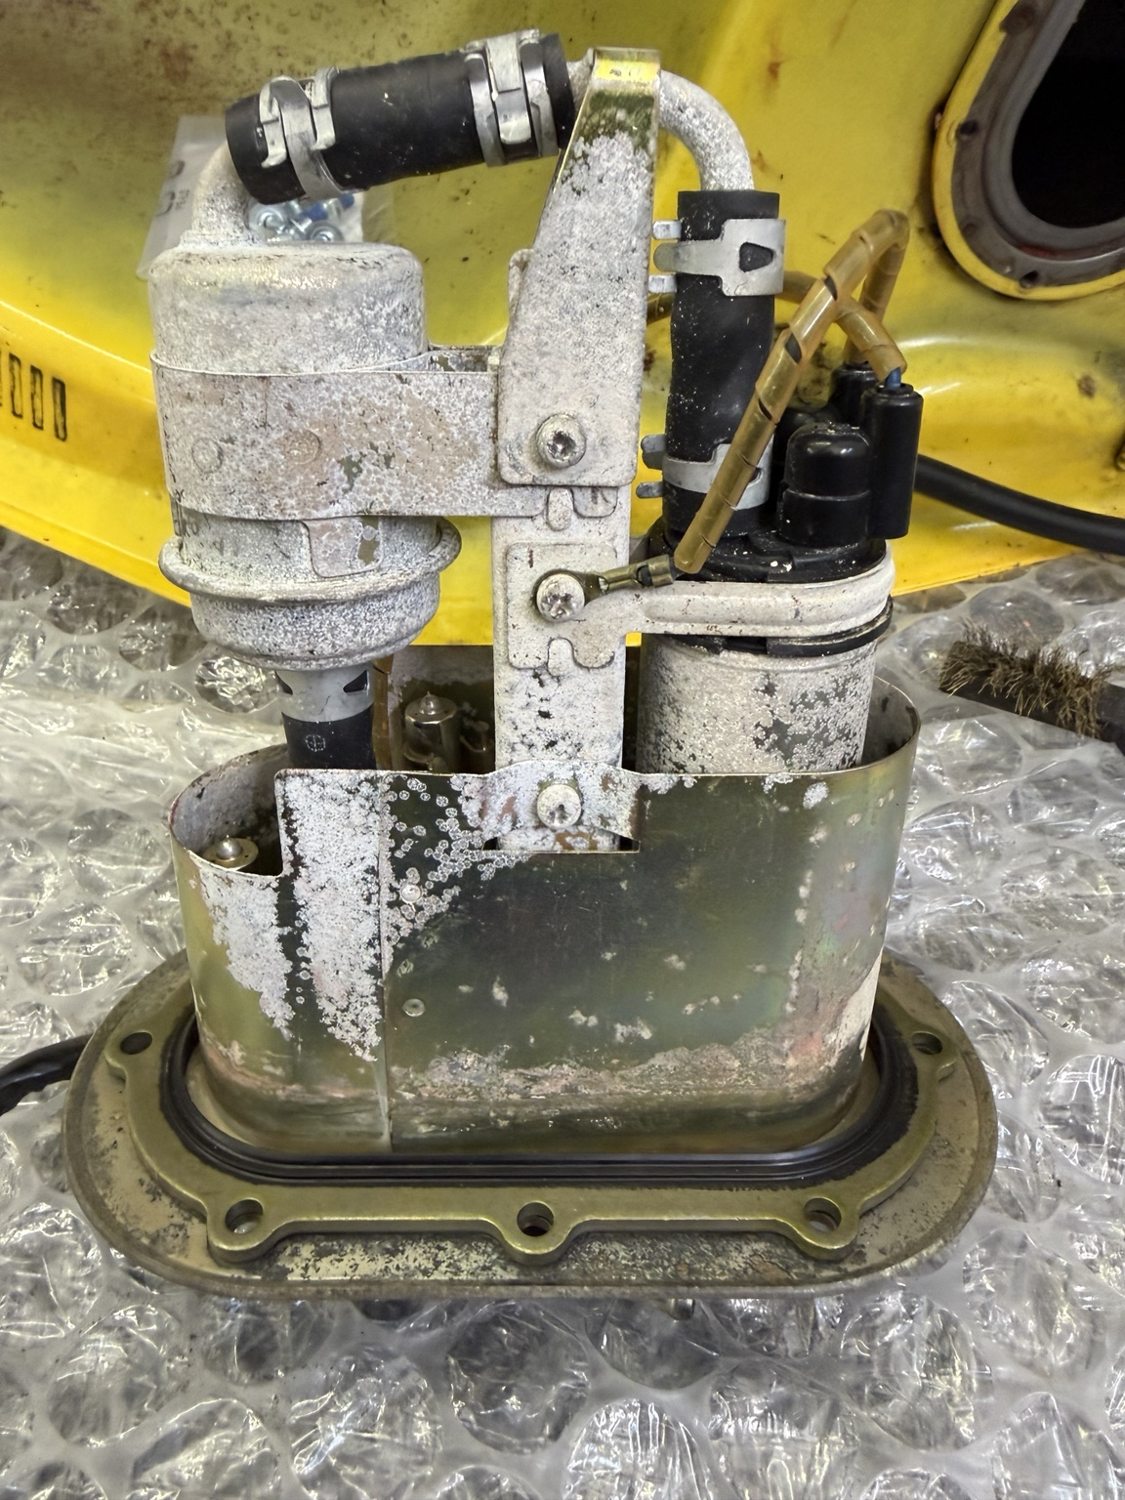
Additional photographs record the inside of the tank and the removed fuel-pump assembly. The visible marks and corrosion are part of the initial assessment; cleaning, sealing and testing must be completed before the fuel system is signed off.
TANK INTERIOR · Condition during inspectionFUEL PUMP · Assembly and corrosion inspected
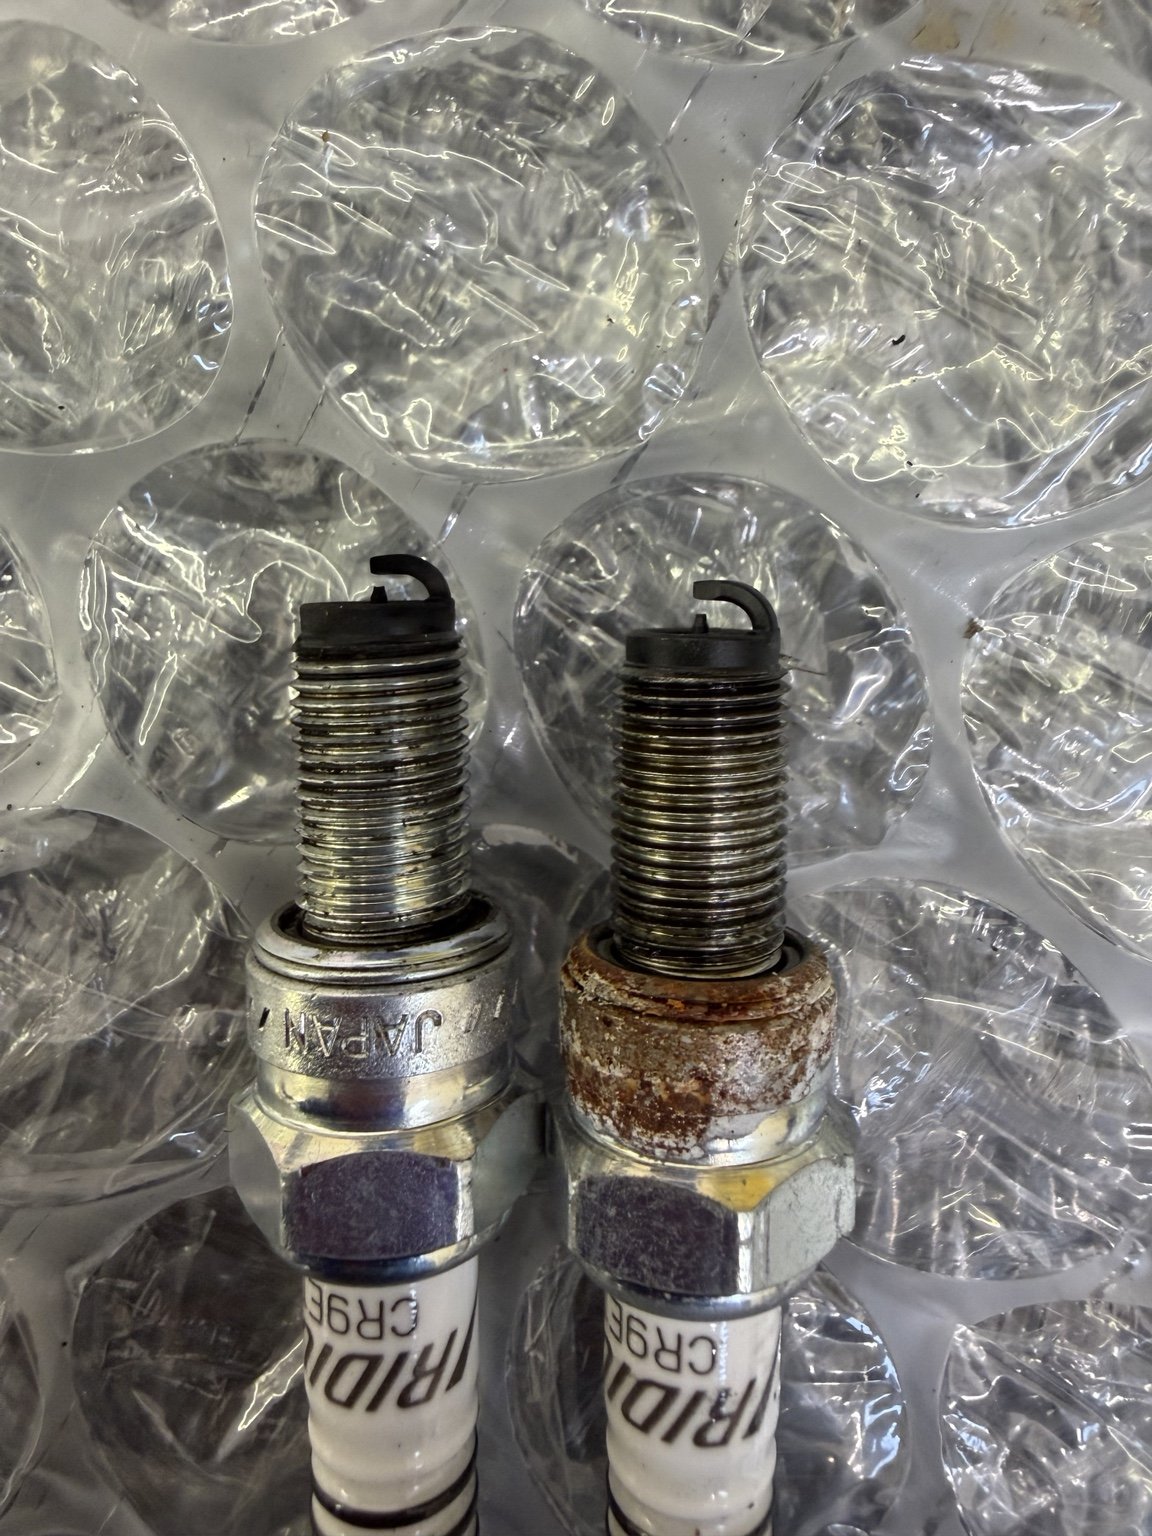
Spark Plug Inspection
Old spark plugs are being checked as part of the service. The comparison photograph records their condition before replacement; a photograph alone cannot establish the engine's internal condition.
PLUGS · Removed components inspected
Next
Complete the fuel-system work, verify the electrical connections and throttle operation, and check for leaks before refitting the tank and bodywork.
Stage 08 · Final Drive
Cleaning Behind The Front Sprocket
With the front sprocket removed, years of accumulated chain lubricant and road grime were exposed around the output shaft and gear-selector area. These before-and-after photographs show the cleaning progress and make the area easier to inspect. Cleaning alone does not confirm that the seals are leak-free; that will be checked during reassembly and testing.
BEFORE · Accumulated grime exposedAFTER · Cleaned for inspection
Stage 09 · Cleaning & Preparation
Cleaning, Painting And Parts Preparation
Progress isn't always dramatic. The brake discs and calipers have been cleaned, selected brackets have been painted, and a growing collection of smaller components has been through the parts washer and ultrasonic cleaner.
These are preparation jobs rather than final sign-off: brake components will still need inspection, correct reassembly and functional checks before the motorcycle returns to the road.
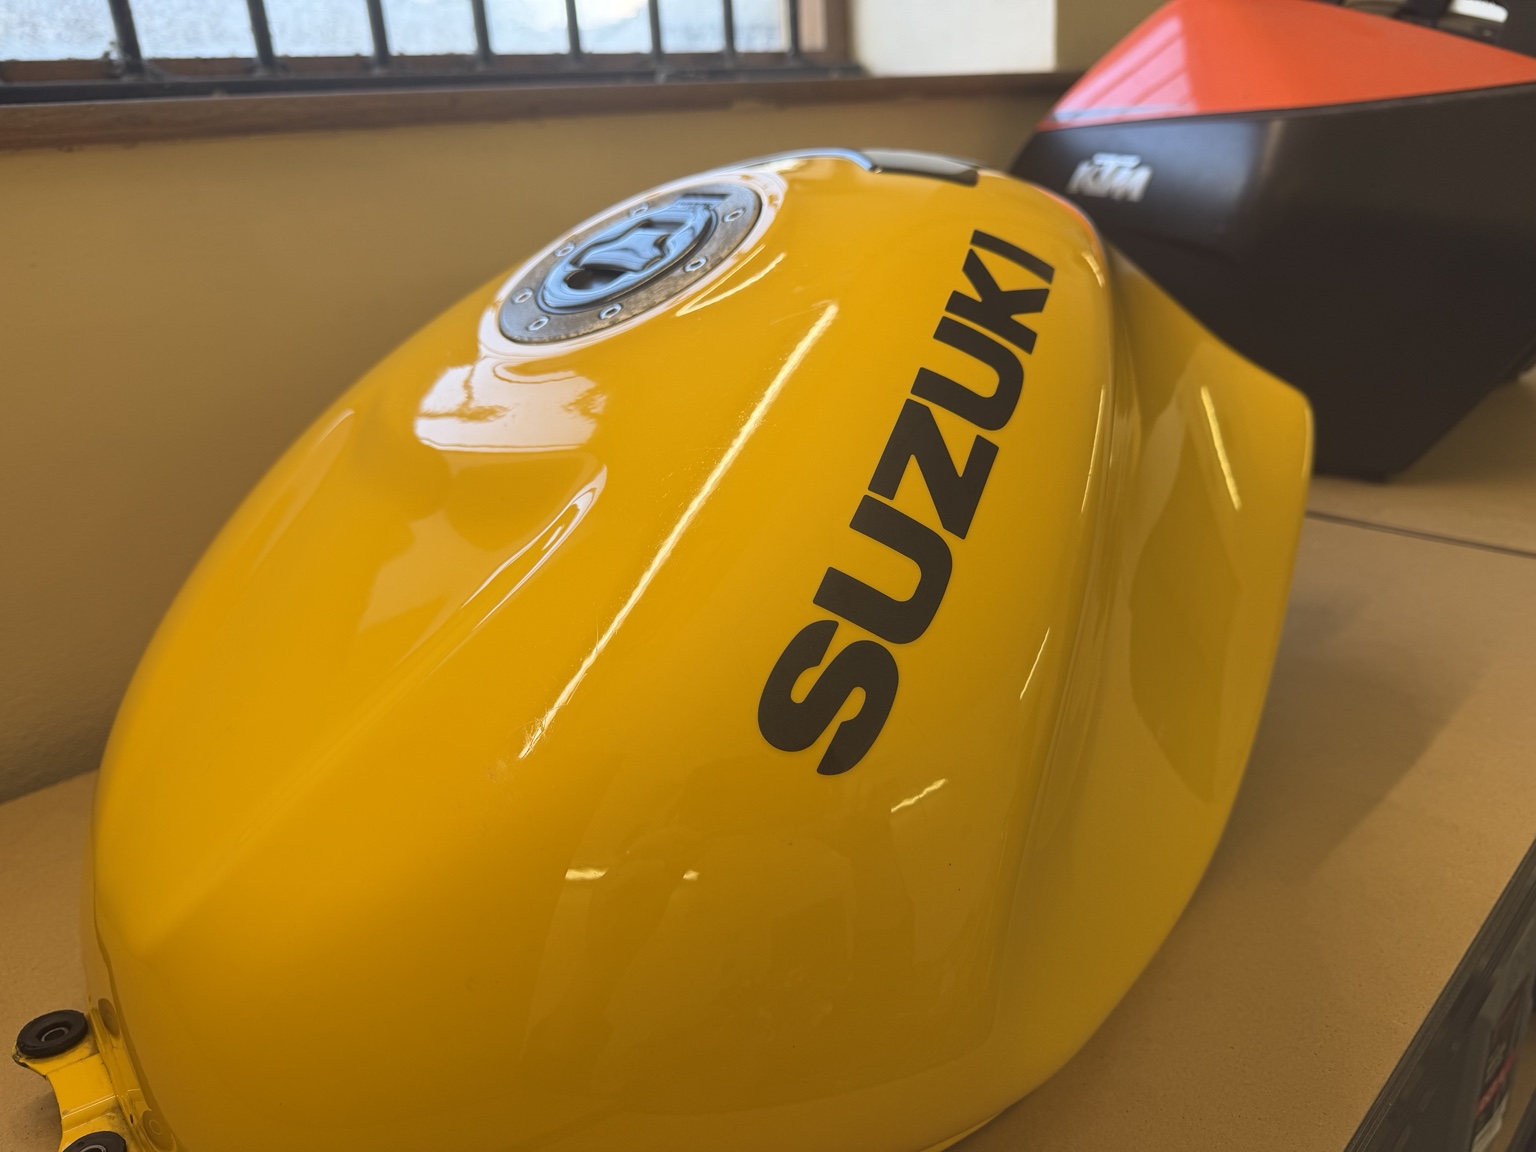
The tank underside and fuel-pump connections are documented as the fuel-system work continues. The yellow fuel tank has also been cleaned and polished.
FUEL SYSTEM · Tank undersideBODYWORK · Tank after polishing
Next
Continue component preparation, complete outstanding mechanical work, reassemble and test before MOT.
To Follow
Repairs · Reassembly · Road Test
This journal will grow with the motorcycle, documenting the work completed, reassembly, road testing, MOT preparation and the finished bike before it is offered for sale.